
"Signs of Love": DIY Wedding Welcome, Guestbook, and Gifts & Cards Signs
A few of my loyal readers gently (or maybe not so gently) reminded me that I had not done a Wedding Wednesday in a few weeks. I know, I know. It's also dawned on me that at some point I'm going to run out of DIY projects to share from our own wedding, so if you know of someone who was recently married and wouldn't mind being their DIY efforts being featured, let me know!
With that, let's jump into this week's featured project: rustic wedding signs. If you are in the midst of wedding planning, you've probably come across different versions of beautiful wood signs welcoming guests or labeling the guestbook or gift table. But, some of them ran $50 or more on Etsy. Even trolling Craiglist didn't result in any great deals for what I wanted. So, another DIY project it would be!
What You Need
Plywood (Home Depot)
Wood Stain of Your Choice
Staining Rag
Plastic Gloves
Table Saw (or have Home Depot cut to size preferences)
Sand Paper
Stencils or Vinyl Cut Out Words
Welcome Sign
Decide on the dimensions that you would like your sign to be. Ours was about 2 feet x 3 feet. Using a table saw, cut the plywood to the desired dimensions and use sand paper to smooth out the edges of the board. The wood we picked out was in the project panel section of Home Depot and was about $6 a sheet. Once you have the board sanded and clean, put on some gloves and stain away.
I am a BIG fan of stain, as you many have already read in my post on our DIY Ring Box and our recent DIY Farmhouse Shelves projects. Stain seems like something fancy and advanced when it comes to projects, but it's really pretty hard to mess up. Here, we used Minwax Dark Walnut stain, but you can use any kind of stain that coordinates with your wedding. Make sure the entire sign is covered and be sure to wipe off any excess stain. It's also good to remember that a little stain goes a long way, so no need to put tons on to begin with. You can always add more!

If I had been more brave, I would have attempted to create my own stencil or vinyl cut-out, but at the time I did not own a Cricut. Even with this fancy cutting tool now, I wanted it to be large, so I likely couldn't have accomplished that on my own. So, I enlisted the help of my friend at K&M Creations. I met Madison in college and she and her husband do lots of fun DIY stuff in Arizona. She was able to create custom vinyl words for me to apply to the WELCOME sign and two of the other signs below. She gave me a good deal and the project still cost less than if I'd bought them off of Etsy.
Once the stain was dry, we applied the vinyl sticker per Madison's instructions. It was pretty easy! We just needed to measure and pay attention to placement. You also want to be really careful when working with vinyl to not create bubbles or creases. Below is a photo of us applying the lettering to the Guestbook sign.

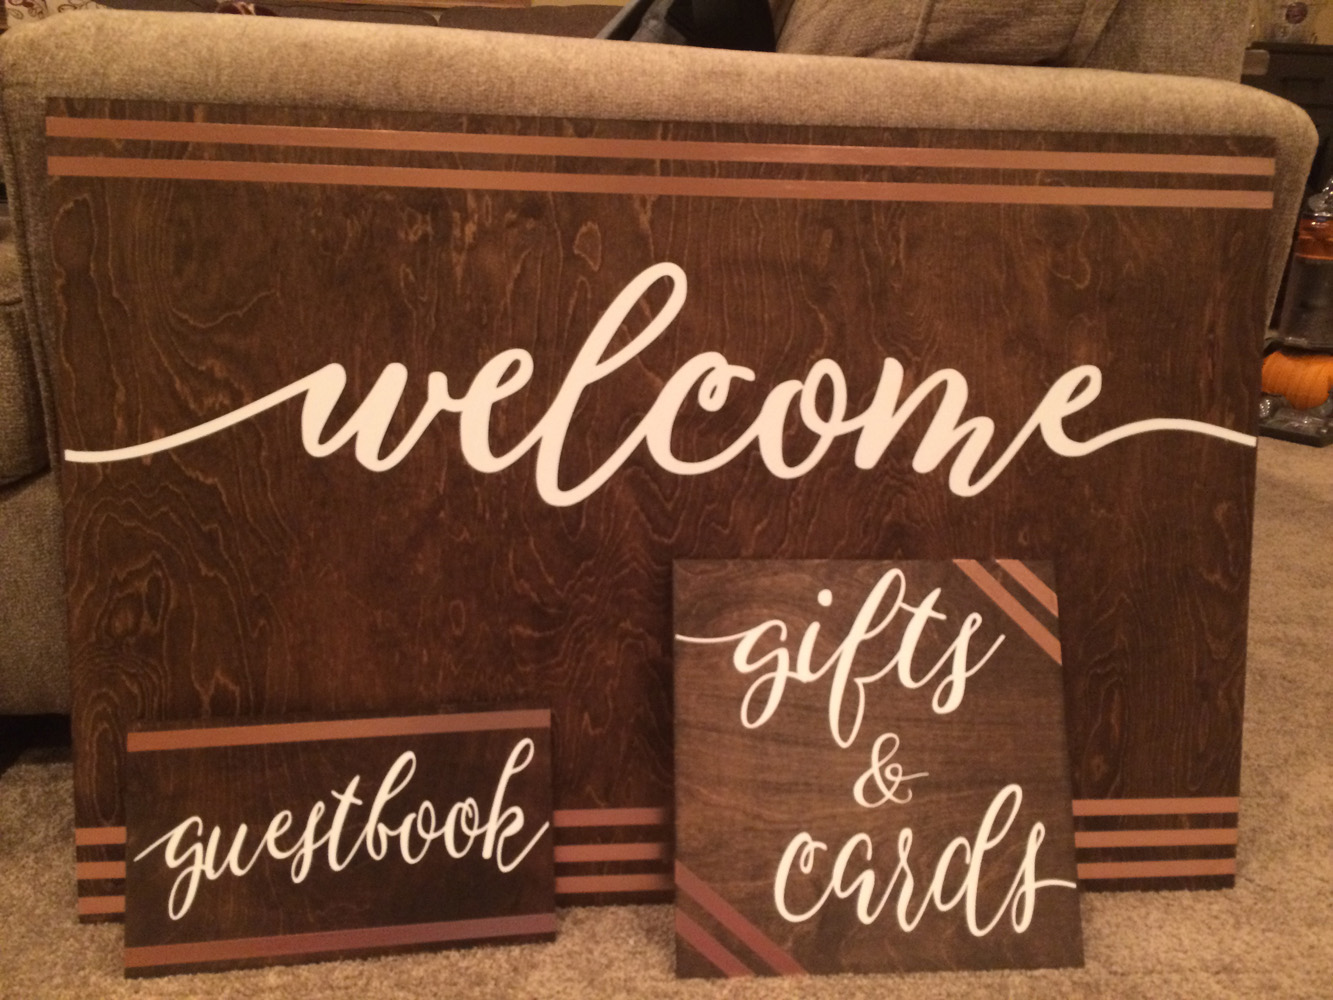
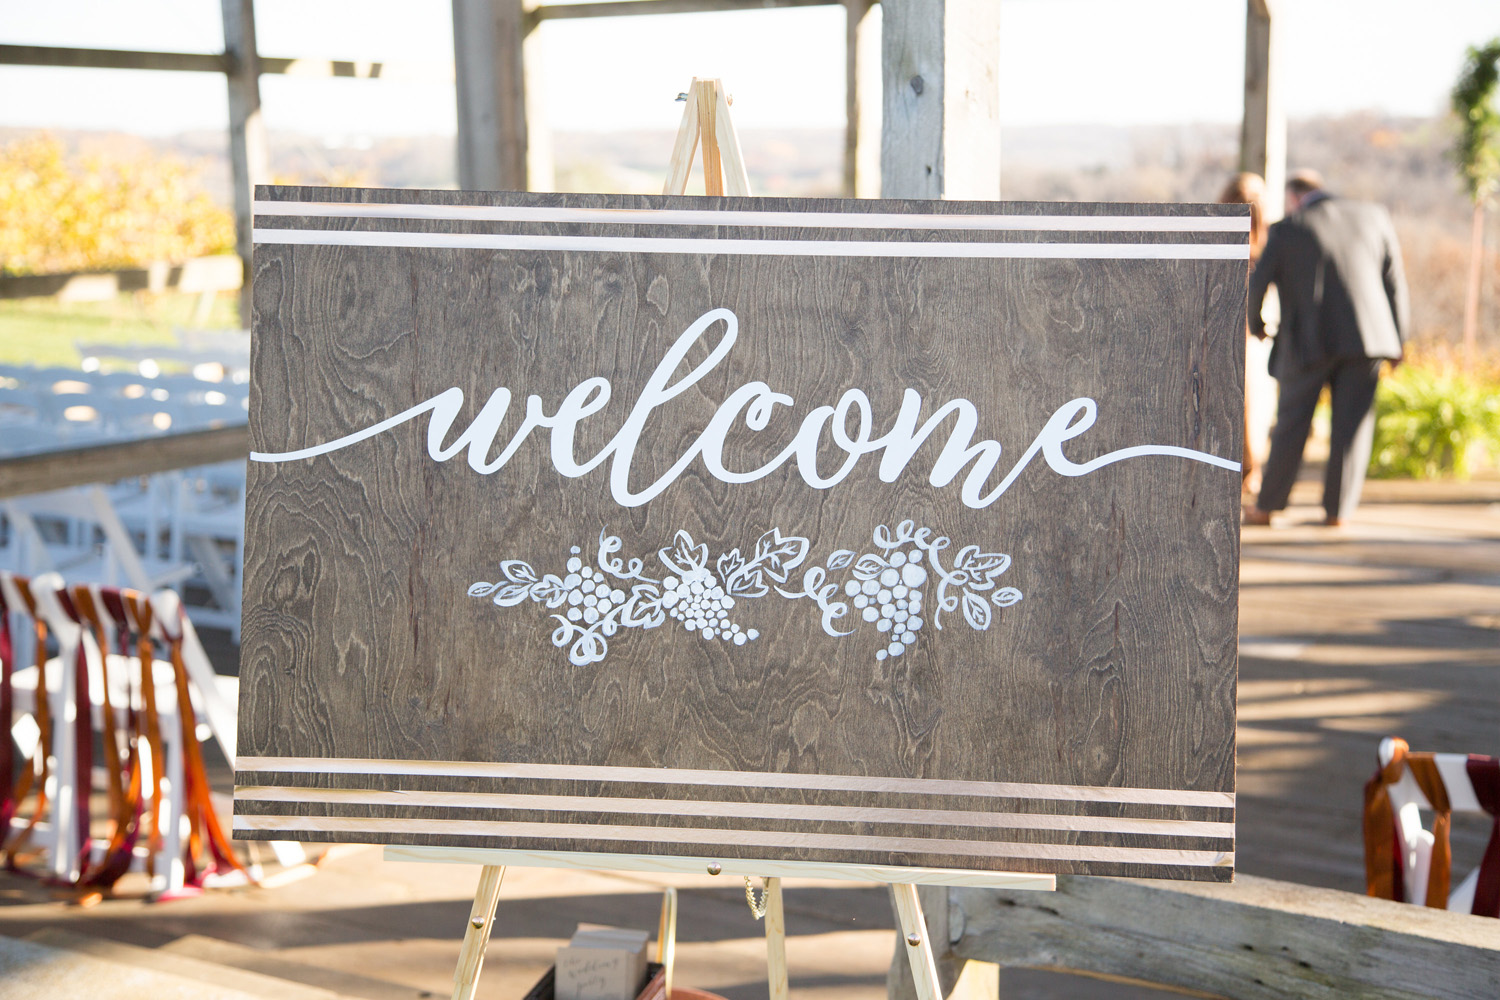
To add a bit of our colors into the sign, I used copper washi tape from Oriental Trading Company to create stripes on the top and bottom of the sign.
As the perfect edition, our photographer, Carly of Carly Jo Studio, who is also a talented artist, painted on some grape vines. It was perfect for our vineyard setting!
We purchased these inexpensive easels from Amazon to display this sign and our seating chart on (blog post on that to come) and re-sold them for nearly full price after the wedding.
Guestbook and Gifts & Cards Signs
Repeat the process above to create a coordinating Guestbook and Gifts & Cards signs. Our Guestbook sign was about 12 inches X 4 inches and our Gifts & Cards sign was about 12 inches x 12 inches.
Again, we ordered custom vinyl words from K&M Creations. However, if you have a Cricut or similar machine, you could use the vinyl material to create your own.
We again followed the same process of carefully applying the vinyl wording to the stained wood after measuring where we wanted it placed.
I added the same copper washi tape for embellishment. As a note on the washi tape, you'll want to tape it around to the back to ensure it stays on the wood.
I borrowed stands my sister-in-law to display both of these, however, Dollar Tree has a few options for only $1 and you can always spray paint them to your liking.

They looked great at the reception and if you want to read more about our our global guestbook, check out my post about how we decided on that here.

Happy wedding crafting!!