Easy Easter Egg Tea Cups
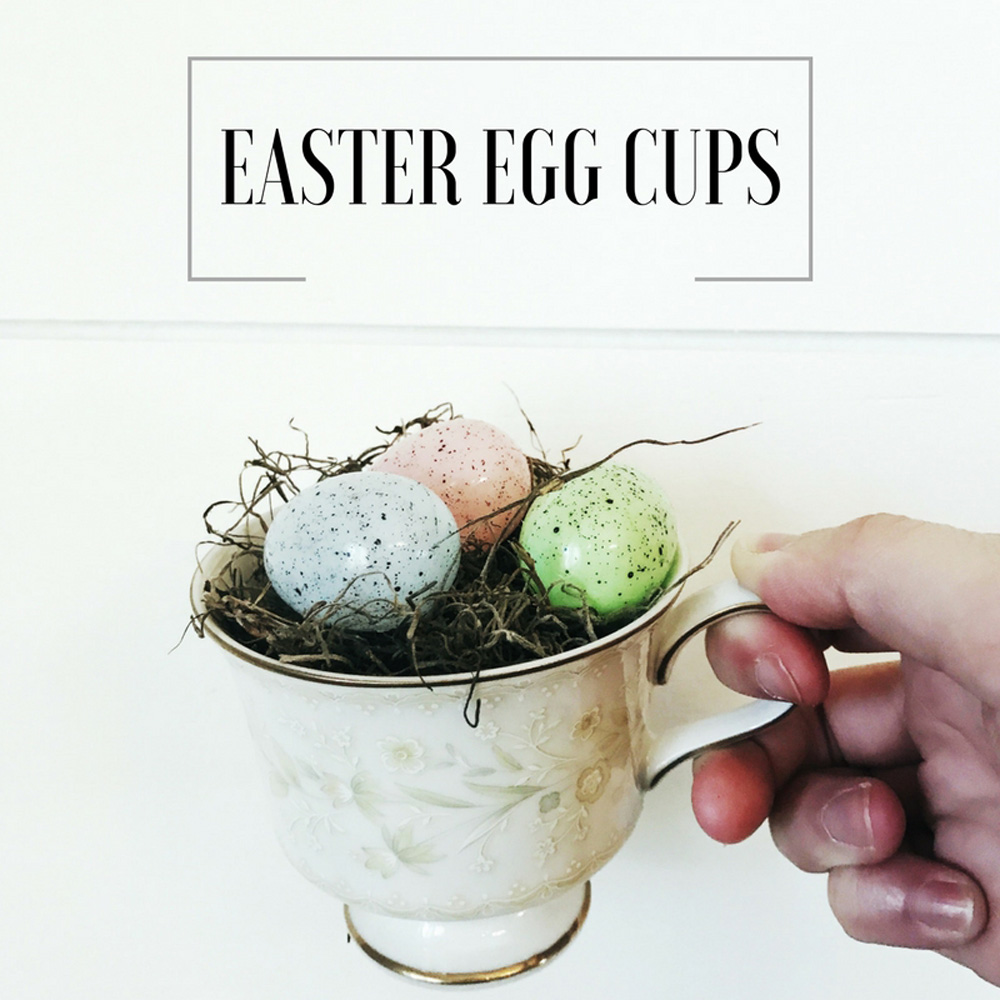
It's officially April and that means Easter is just around the corner! If you're hosting for Easter, it's a great time to start thinking about the table setting. These easy Easter egg tea cups look so cute at each place setting and won't take you much time at all!
What You Need
Vintage tea cups and saucers (Goodwill or other thrift shop)
Spanish Moss (Dollar Tree)
Speckled Eggs (Hobby Lobby)

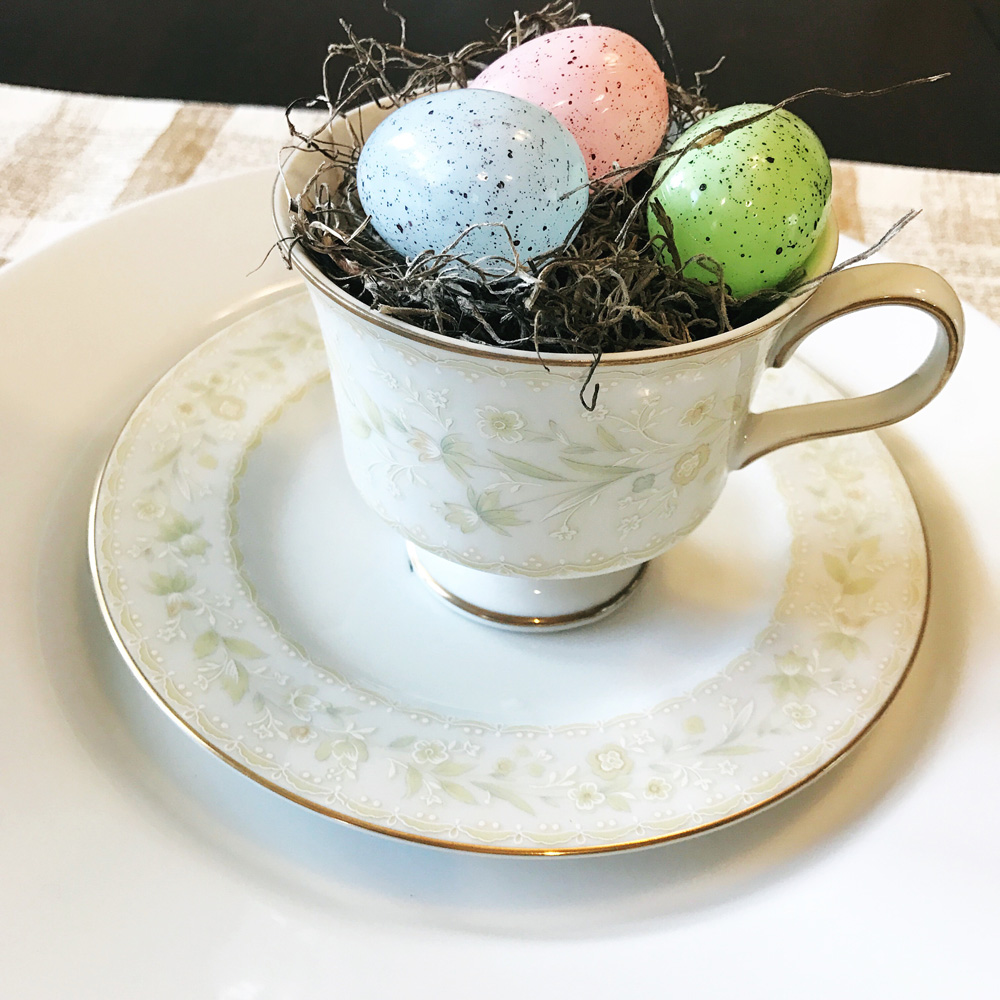
First you'll need some tea cups and saucers. If you have a vintage set of China, you can certainly use those, as I didn't secure these with any glue to make them permanent. However, you certainly could. I am a frequent shopper of Goodwill and every time I go, I've admired all of the pretty vintage place settings, but never quite knew what to do with them. This was the perfect time to snatch up an assortment of cups and saucers to create an eclectic vintage look. Each cup or saucer was $.99, although there are some that run up to $1.99 a piece.
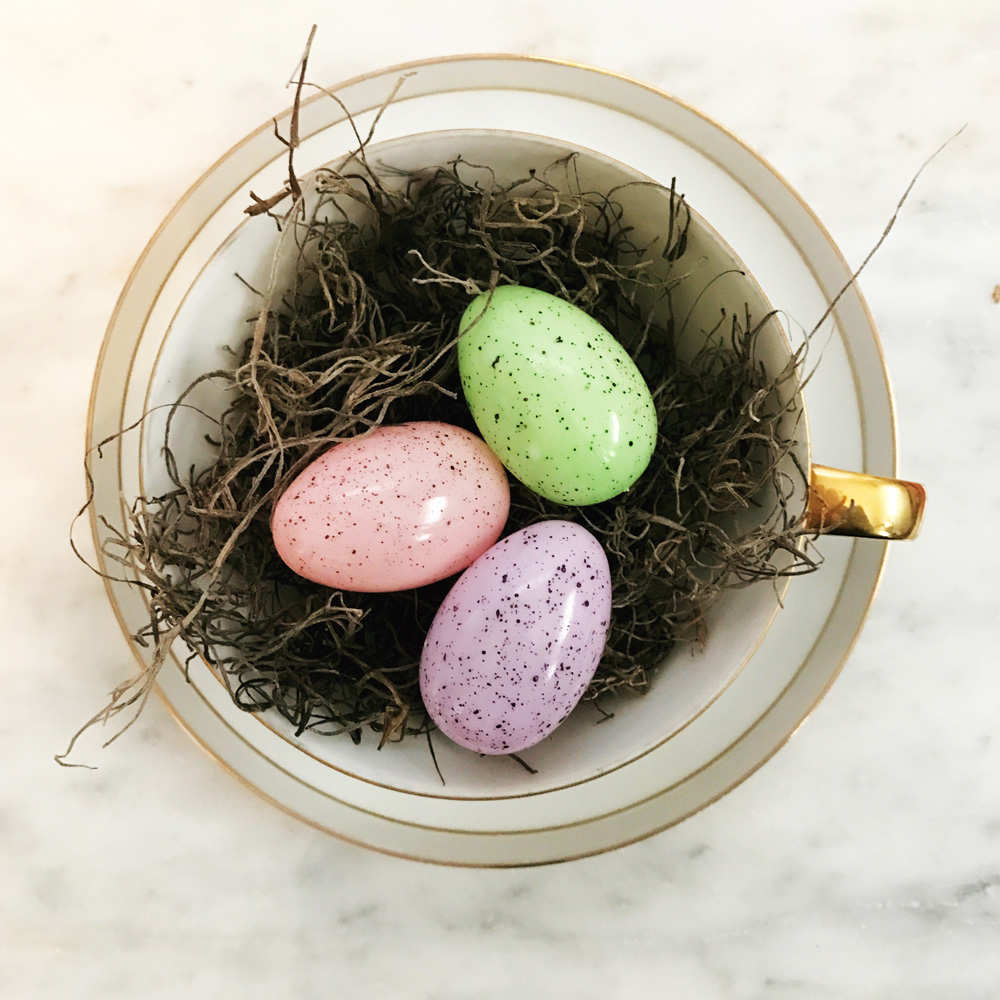
Once I got the cups home and had them all washed, I put a small handful of Spanish Moss in each cup. This can be a little messy, so I'd recommend putting down some wax paper or newspaper for easy cleanup.

The moss is a little matted down in the bags, so you'll want to work on pulling it apart and rearranging it until you get the desired nest look. Once I had the moss situated, I topped each cup with 3 eggs. The eggs came in a package of 12 in Hobby Lobby's Easter craft section. At 50% off, they cost about $1.50. Hobby Lobby also carries Robin's Eggs and other farmhouse style eggs in its floral section if you aren't big on Easter pastels, but those were around $4 for less eggs and not on sale this time of year.
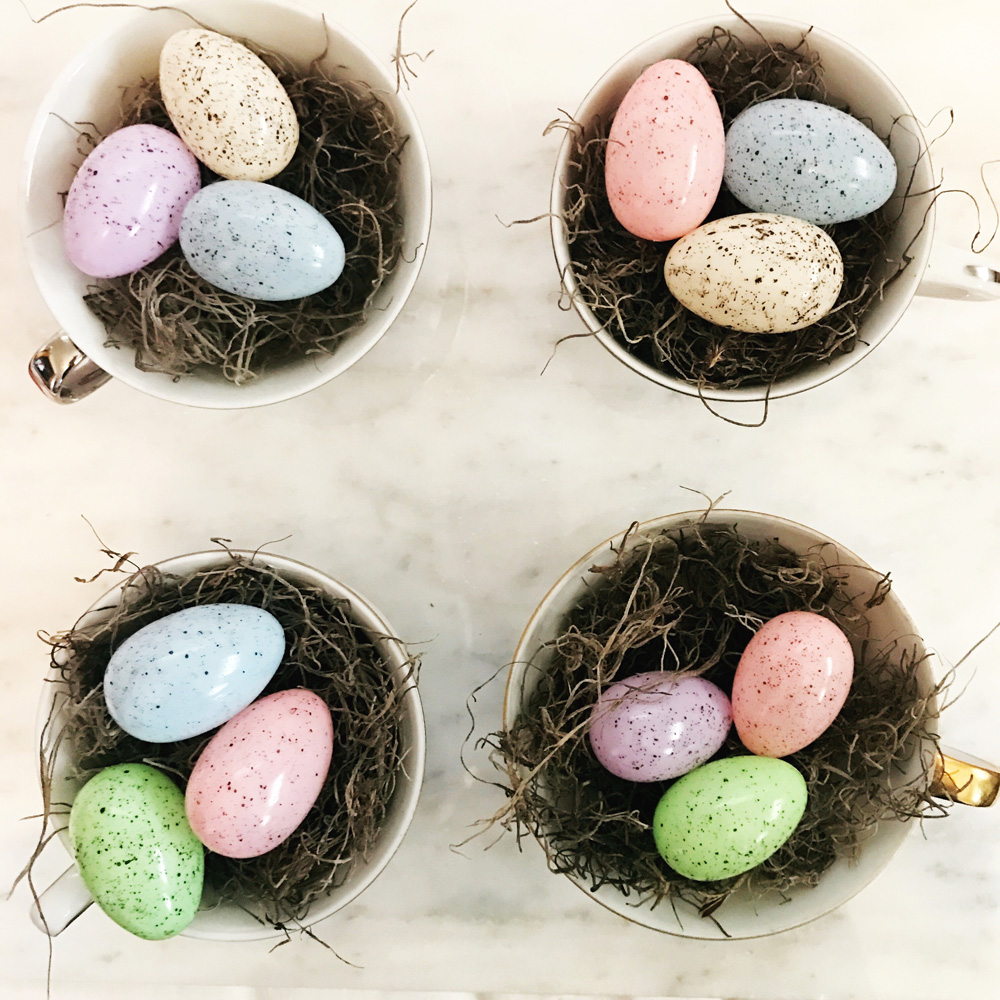
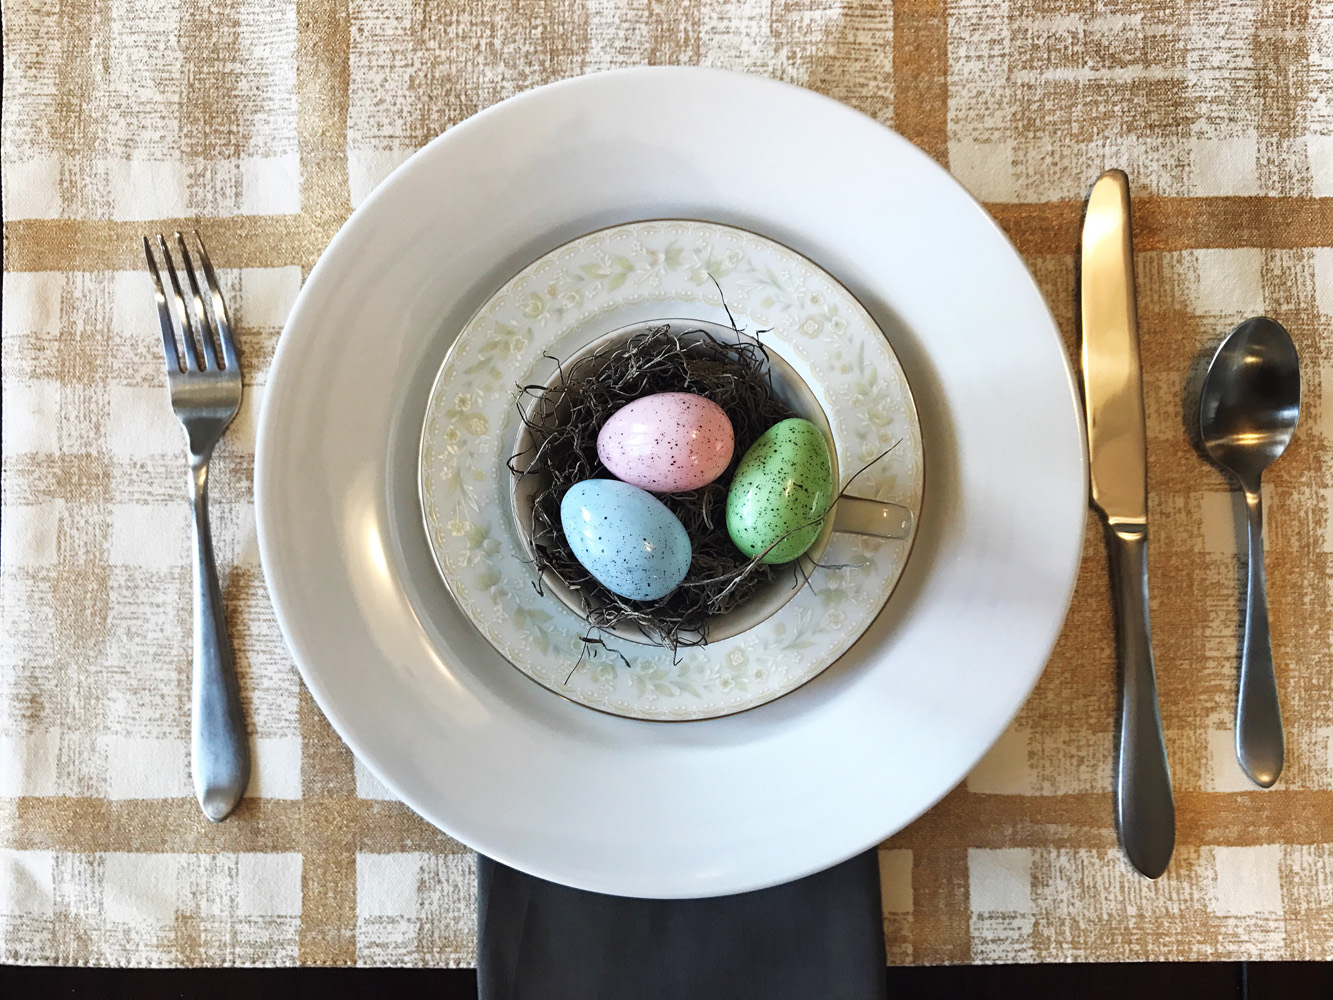
Now all you have to do it set the table and place these on top of the plates! Easy and adorable, if you ask me!