
Hung with Care: Easy DIY Bridesmaid Hangers
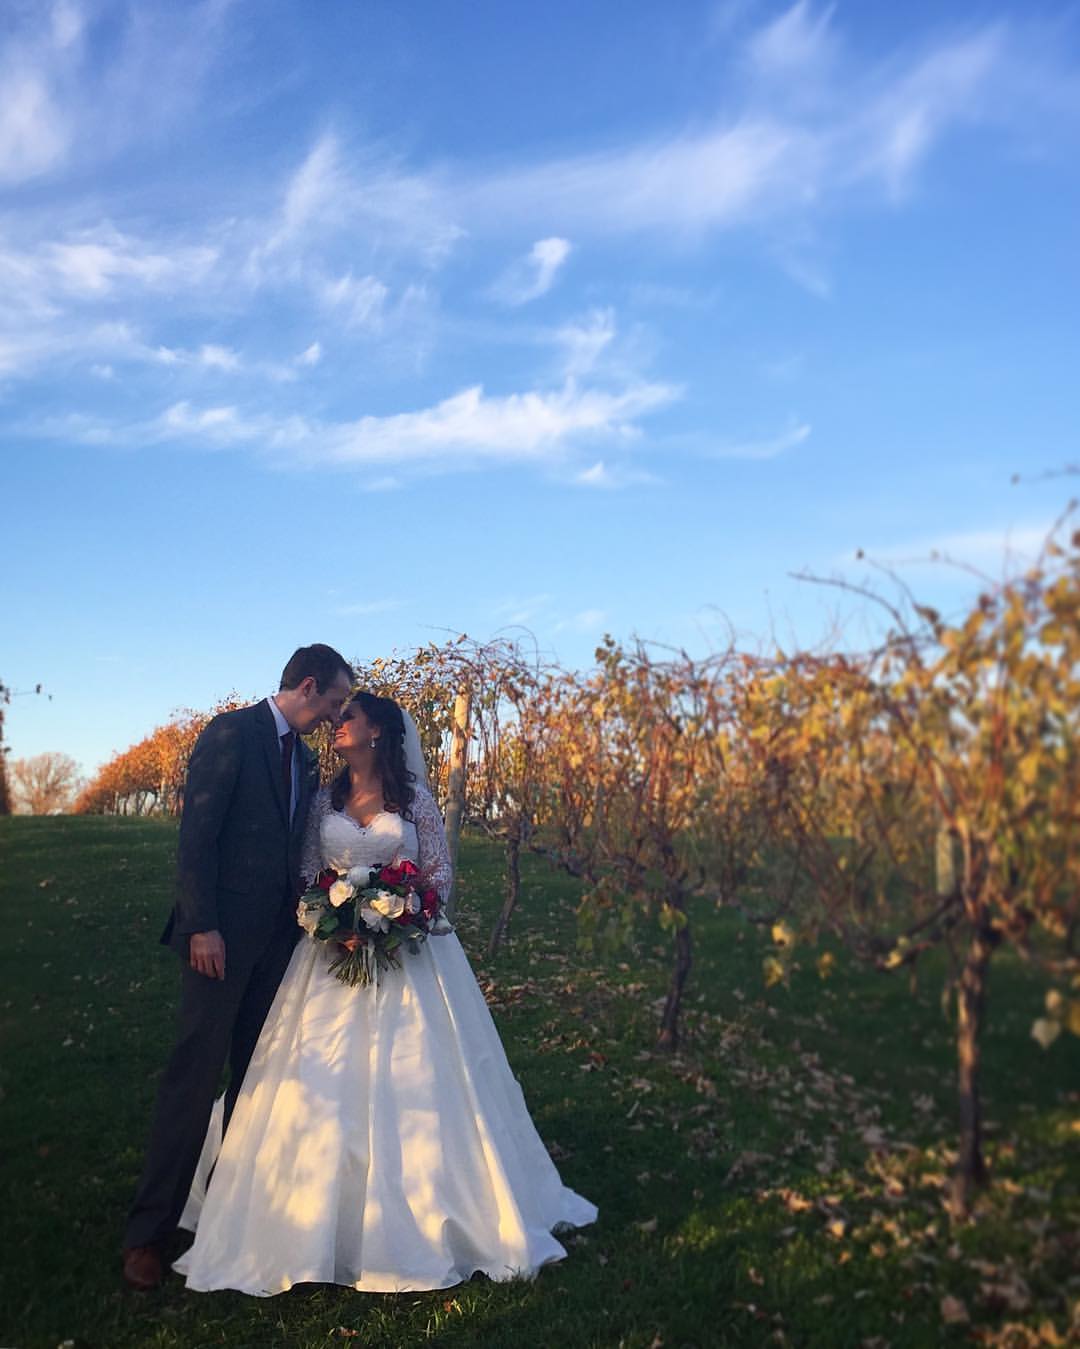
I am back from all of the wedding and festivities! We had an absolute blast on our big day. The weather couldn't have been more perfect, the venue was absolutely gorgeous with peak fall colors and it was amazing to celebrate with all of our family and friends.
Then, we were off to Belize to enjoy some beach time, some jungle time, and a few adventures in between. It was so much fun!

With all of the festivities behind us, I wanted to start sharing some of the fun projects and wedding tips and tricks I learned during the past year. I plan to feature something each Wednesday until I run of out of things to share! I hope sharing these things will help current or future brides-to-be as they plan their big day or perhaps they will spark an idea for a different event or party.
One of the first DIY projects I did post-invites (read more about that project here) was to make hangers to give my bridesmaids and personal attendant as a part of their gifts. There are a variety of Etsy shops and companies that will sell you this sort of thing, but they can range from $10-$15 a piece or even more! As much as I was excited to have the hangers be in detail shots and in general be cute the day of, I wanted to be able to get the ladies other gifts as well, so this was a project I was sure I could do myself for less money. That meant more of a budget for other fun items!
What You Need
Unfinished Wood Hangers (Around $3 for 5-pack at Walmart stores or a 20-pack for $9.97 online at Walmart)
Black Stamp Pad (available on Amazon or at Michaels (I used a coupon to get mine for 50% off!)
Alphabet Stamp Set ($4.99 at Michaels and, again, I used a coupon to get for less)
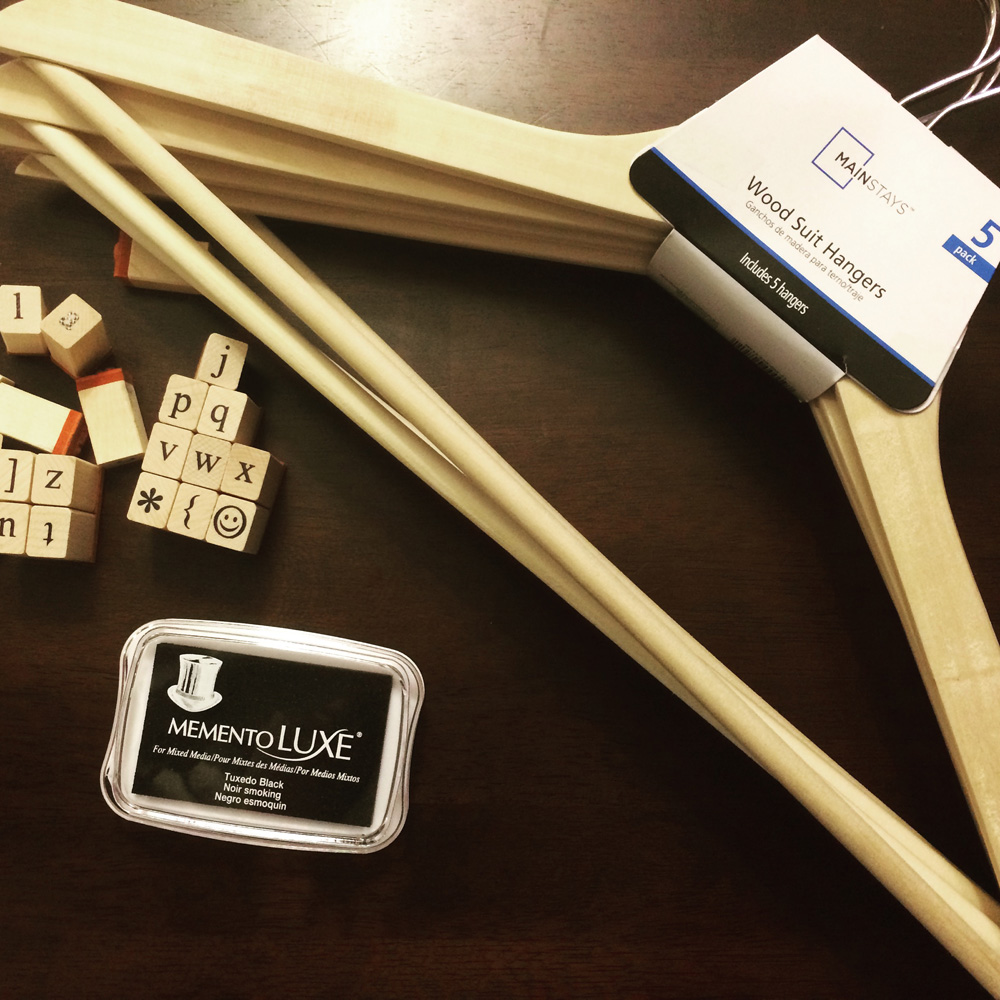
I recommend buying a few extra hangers for potential mistakes. I tossed out a few hangers after either ending up with some excess ink or being unhappy with how the spacing between each letter came out. Better safe than sorry and the hangers are cheap. You also want to make sure they are "natural" or "unfinished." The ink will likely smear off of polished wood hangers.
As for the ink pad, you can also get a different brand of ink or use another color, but make sure to buy one that works well on wood surfaces.
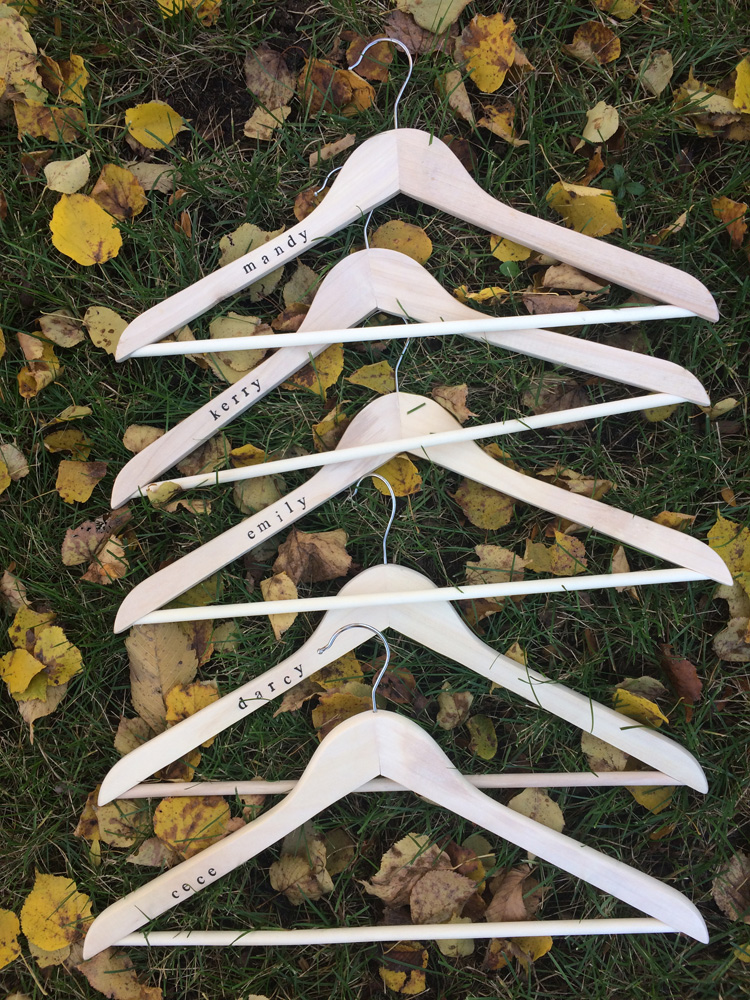
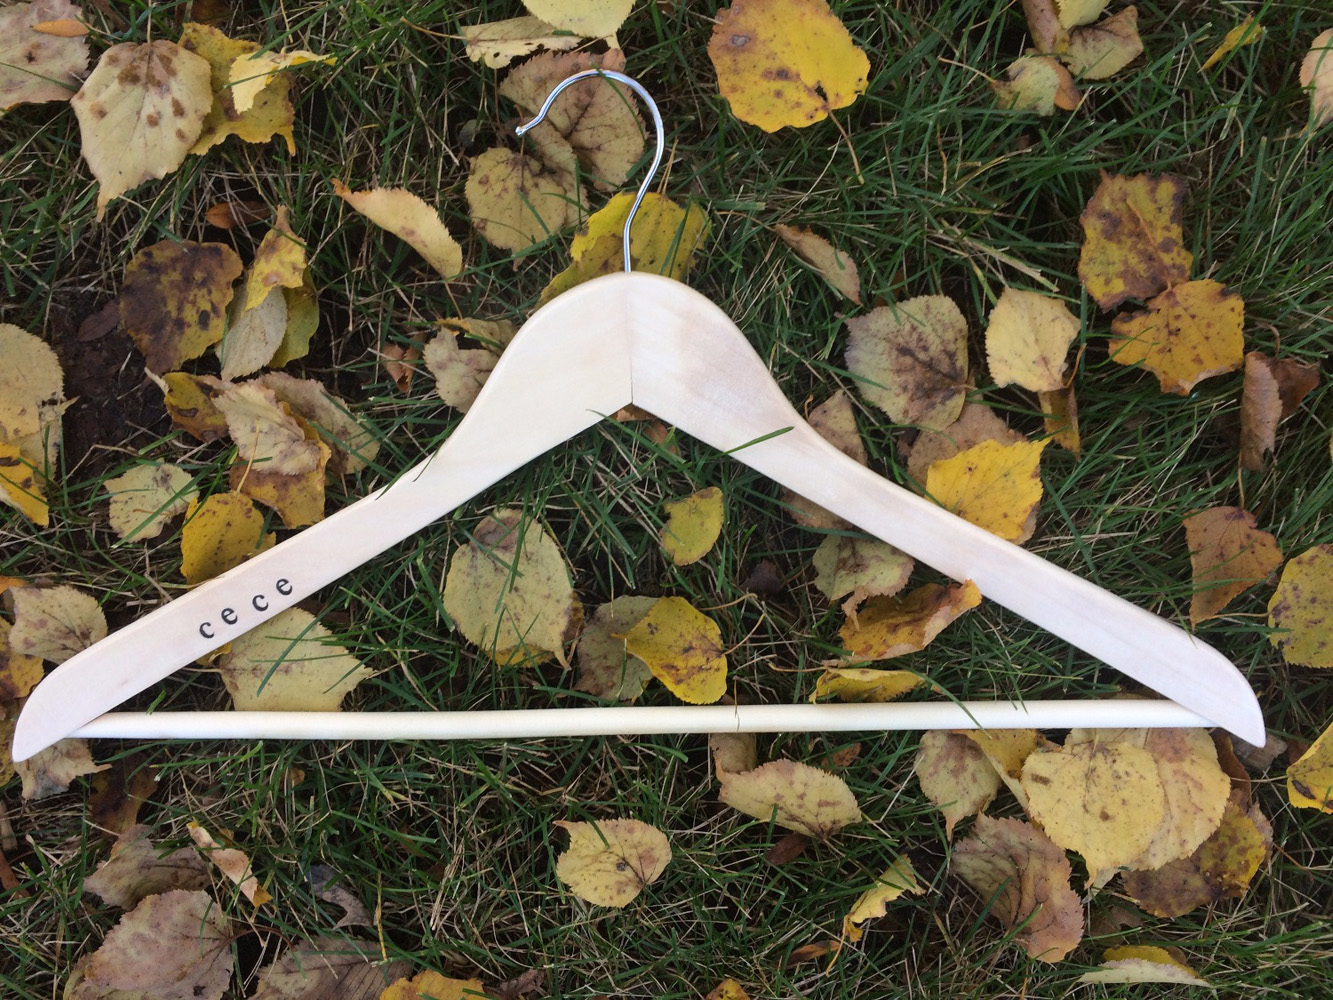
After laying out some parchment paper to avoid any ink marks on the table, I stamped the name of each bridesmaid and my personal attendant onto the left side of the hanger. You may want to test out a dress on the hanger with a similar cut as the dresses the girls will be wearing to decide where to position the names.

Leave them to dry. I let mine sit out overnight to be safe. And that's it! If you want, you can tie ribbon on them or add another embellishment, but I left mine simple. Some wedding projects are better left easy!
Here they are in all of their glory on the big day. They looked great!

Photo of dresses by Carly Jo Studio.