
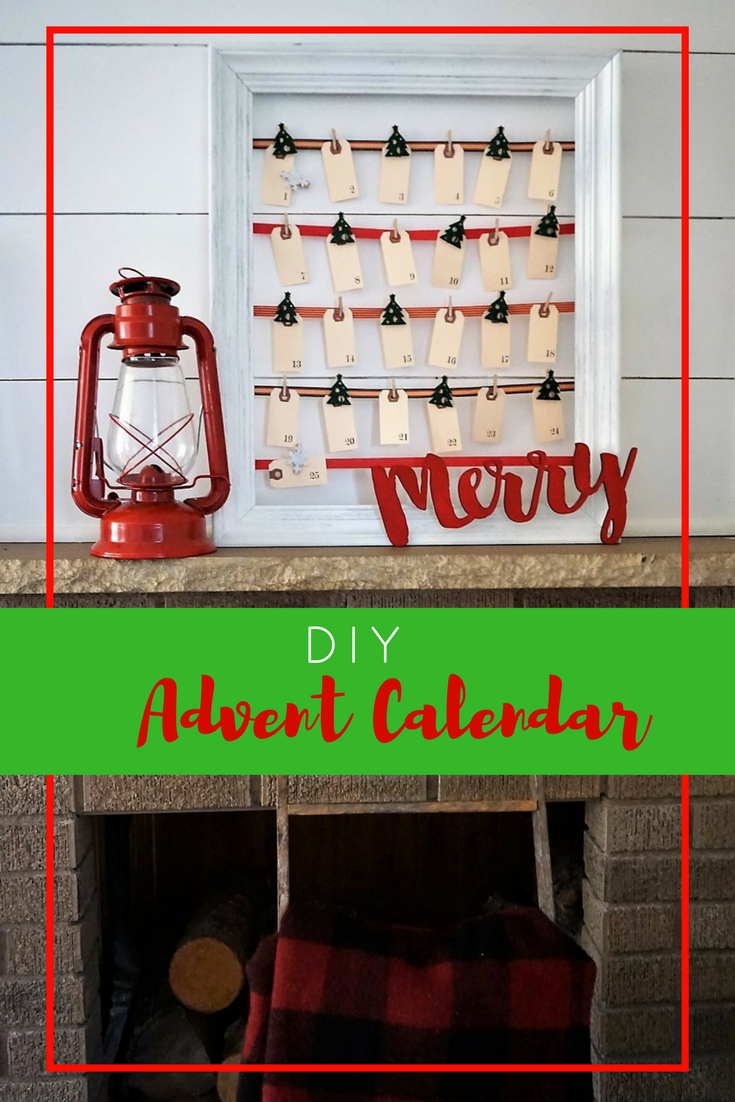
Countdown to Christmas: DIY Advent Calendar
I am so excited that the holiday season is here! I love this time of year! The smells of a Fraser Fir, some delicious baking in the oven, pretty wrapped packages, and so many fun traditions.
Each year growing up, we had the tradition of making a paper chain to countdown to Christmas. I loved making the patterned red & green loop chain countdown using construction paper and then ripping one off each day!
While the paper chains are certainly adorable, I decided I've outgrown the construction paper approach (at least until maybe we have kids of our own) and thought I'd make a more stylish advent calendar.
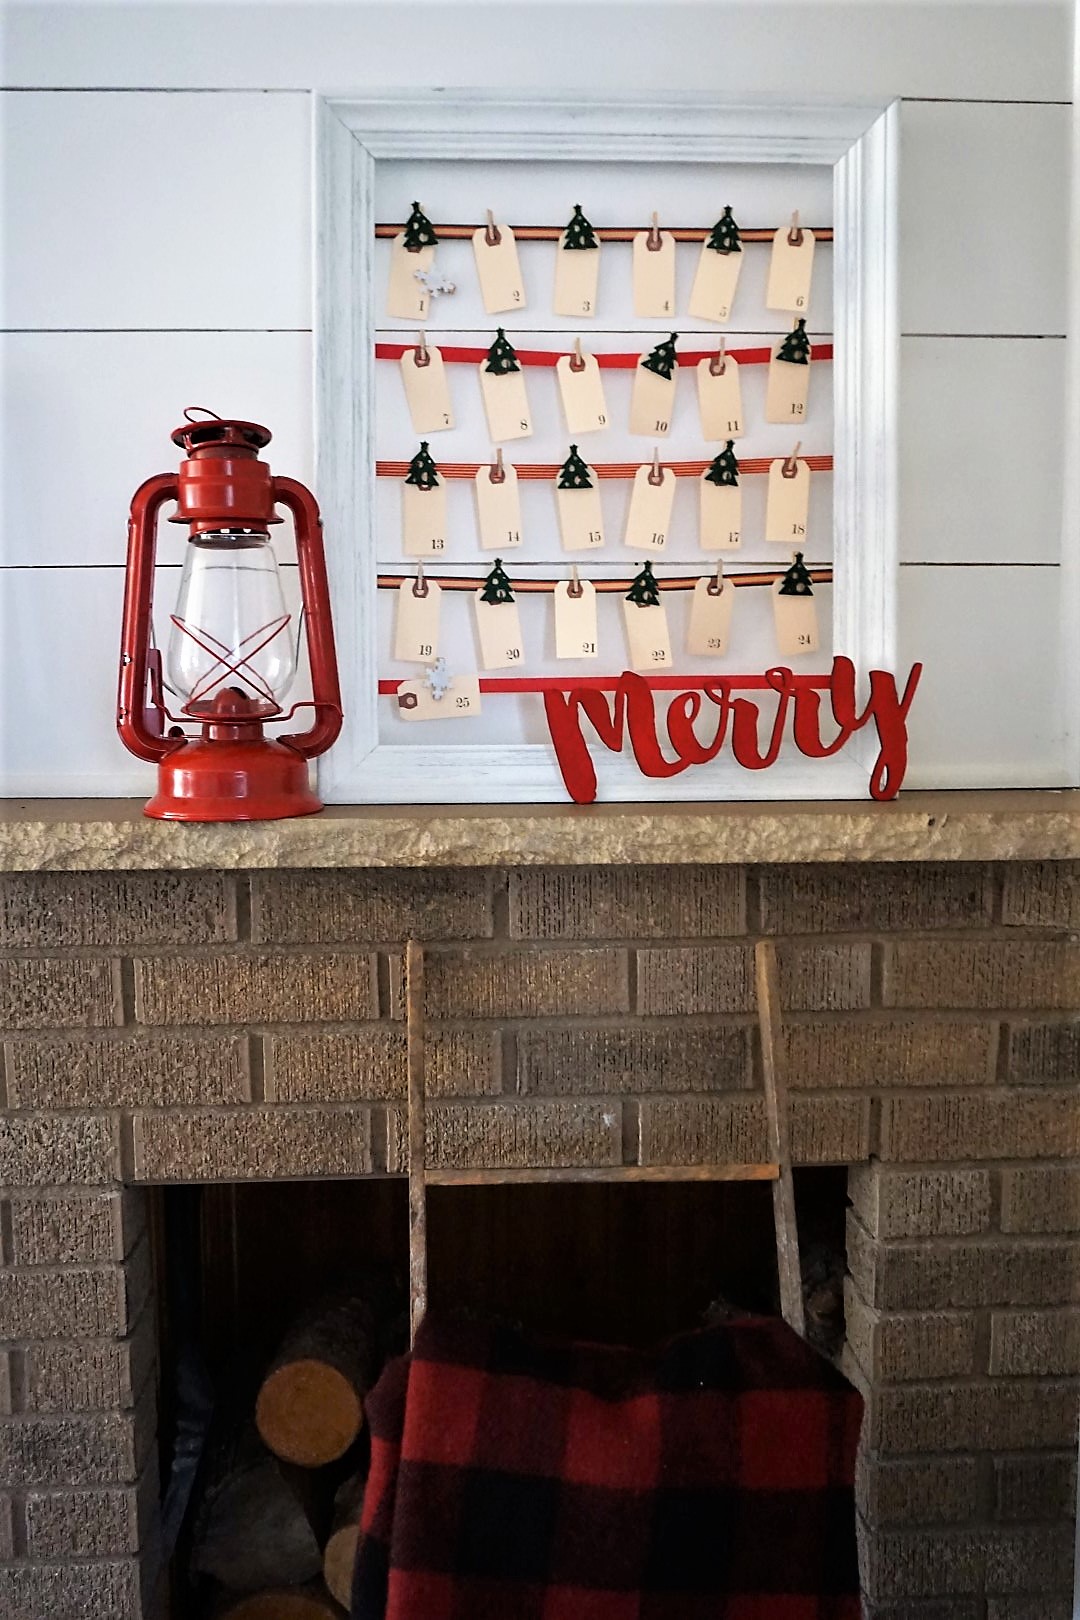
To start, I grabbed a cheap thrift store frame and spray painted it white. Once dry, I attached a mix of Cream City Ribbon to the frame using a staple gun. Cream City Ribbon is artisan made in Milwaukee, Wisconsin on machines from the 1920's from all U.S. grown cotton. This time of year, I love using unique, high quality products from small businesses like this! It is completely compostable, too, so you won't create extra waste while making things pretty this holiday season. I can't wait to use the ribbon on my packages as well!

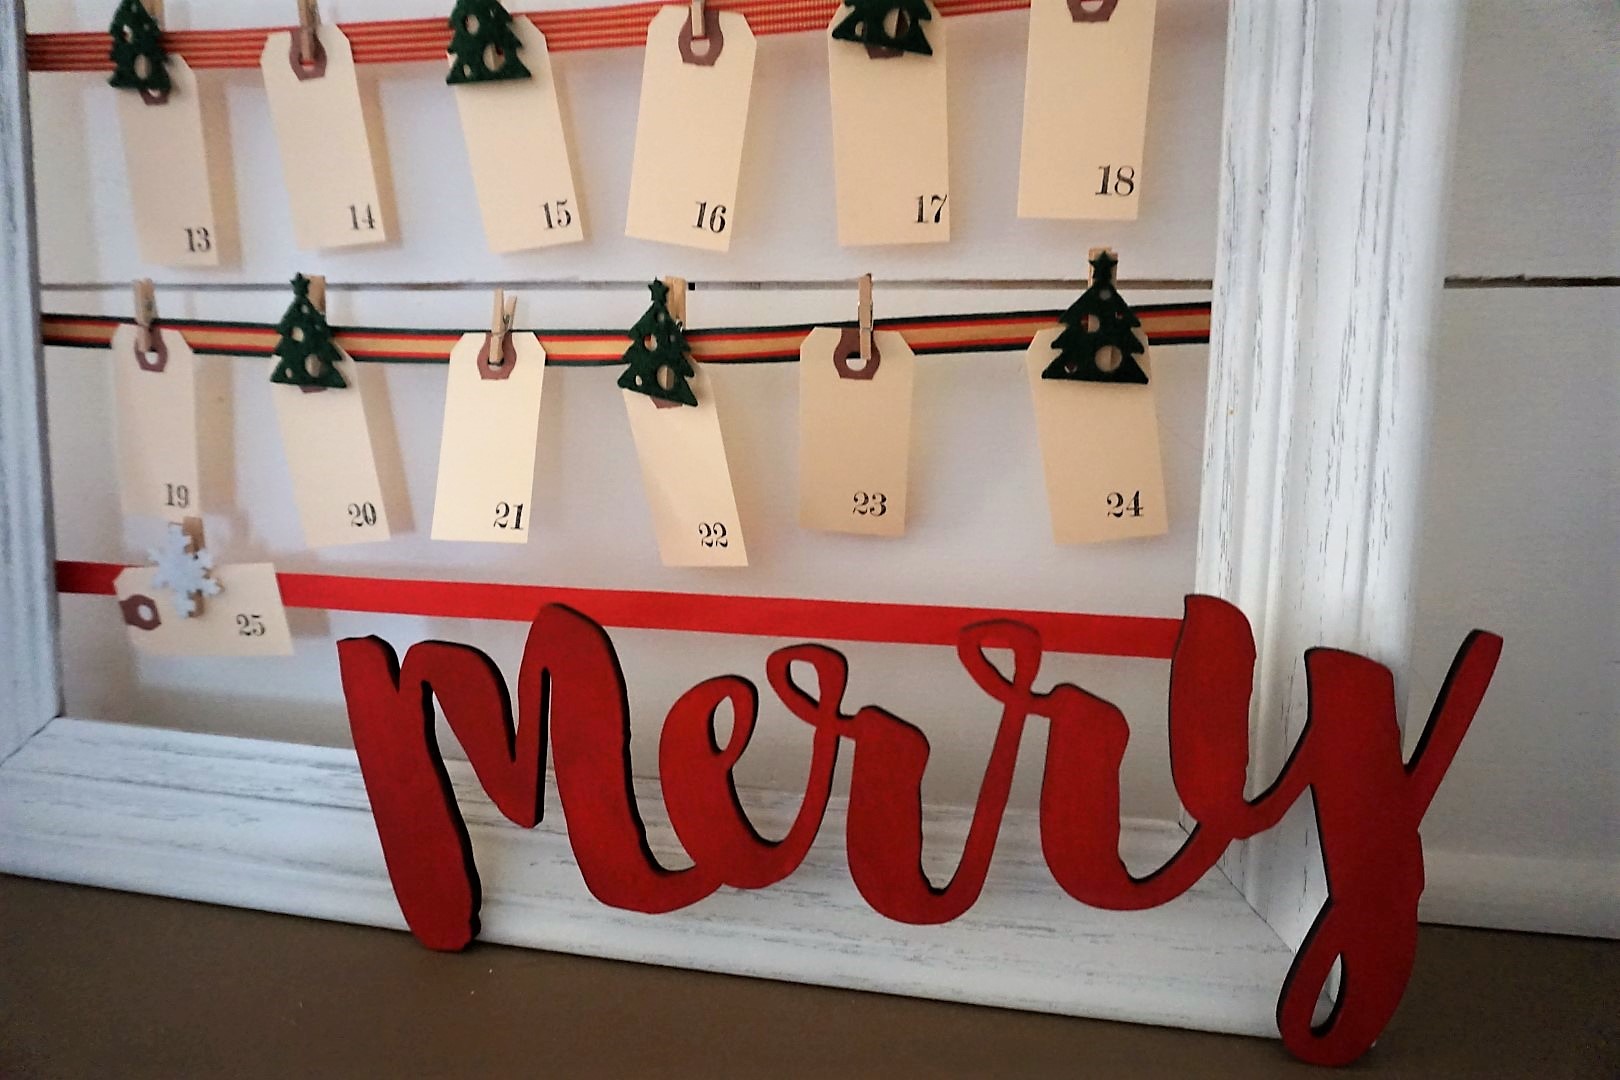
Once the ribbon is secured, you'll need to create some countdown tags. I used my favorite shipping tags that you might remember from my wedding invitations, boutonniere tags, or peppermint bath salt gifts. I've also used them as place cards for gatherings like my farmer's market dinner party. You can pick up large amounts of these tags on Amazon for a very reasonable price.

Next, I used this date rubber stamp set that I picked up for 50% off at Hobby Lobby to add 1-25 to the tags. I decided to invest in some numbers after I've found so many uses for my alphabet set. You could certainly just used a good old fashioned marker or pen and write them on as well!

Using a mixture of Christmas tree clothespins and mini clothespins I had leftover from another project, I clipped on the tags to the ribbon. I also grabbed a set of snowflake clothespins along with the Christmas tree clothespins from Dollar Tree and used one for the 25th tag and one to move from tag to tag as the countdown marker!

To add some final pizzazz, I used a wooden "Merry" cutout from last year's Target Christmas clearance finds. I painted it red using some red chalk paintfrom Hobby Lobby. If you don't have one of these laying around, you can add some faux holiday floral greens, poinsettias, or any other fun wooden cutouts!
A thank you to Cream City Ribbon for sponsoring this post. Although I was given free ribbon to create this project, all of my opinions and feelings about Cream City Ribbon are 100% my own. I only work with brands that I would recommend to others!