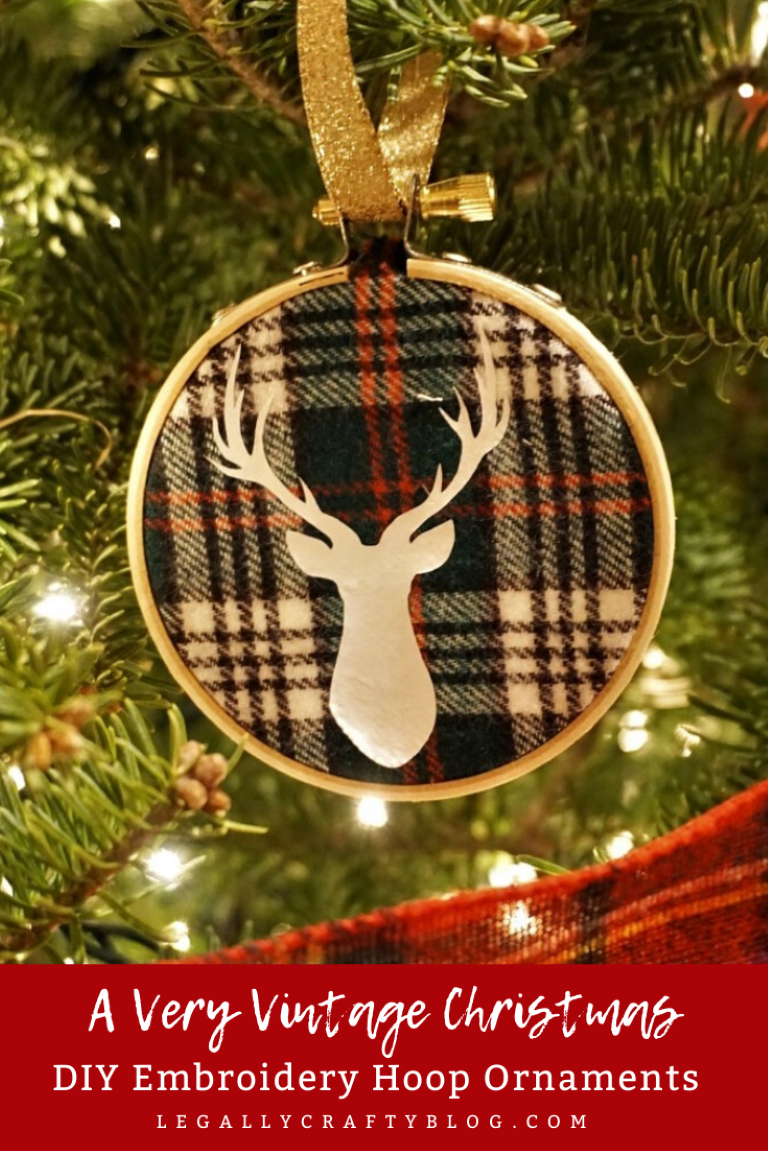
Mad for Plaid: DIY Embroidery Hoop Ornaments
Historically, I haven’t made many DIY ornaments. I think the last time I made any kind of Christmas tree ornaments, I was pretty little and while I am sure it warmed my parents’ heart, my skill level has improved a bit in the craft department since then.
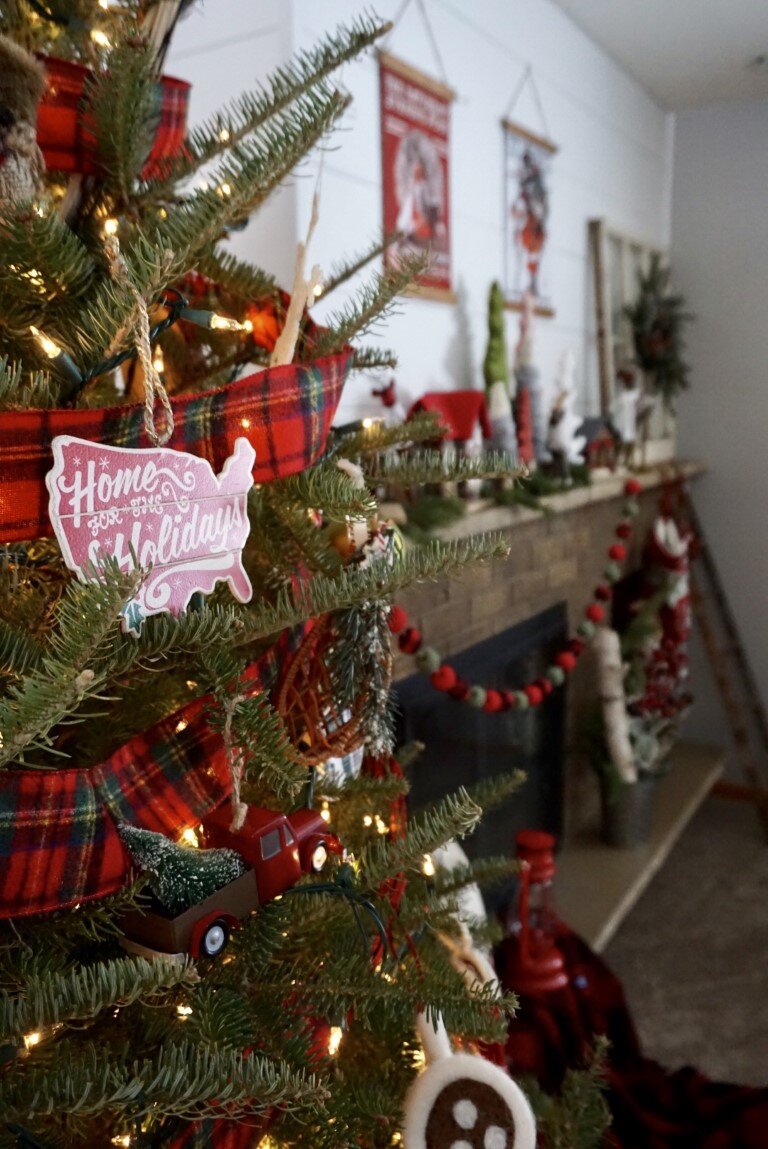
The last couple of years, I’ve been into the classic Christmas vibe with lots of plaid! I loved decorating our mantel and making some DIY poster art to coordinate with this theme.
This post contains affiliate links, which means we may receive a commission if you click a link and purchase something that we have recommended. While clicking these links won't cost you any extra money, they will help us keep this site up and running!
I decided our tree could use a little more plaid! As I was perusing ornament ideas on Pinterest, I came across various ideas using small embroidery hoops to make your own DIY Christmas ornaments. I decided that was completely doable and embarked on making some of my own plaid Christmas ornaments.
What You Need
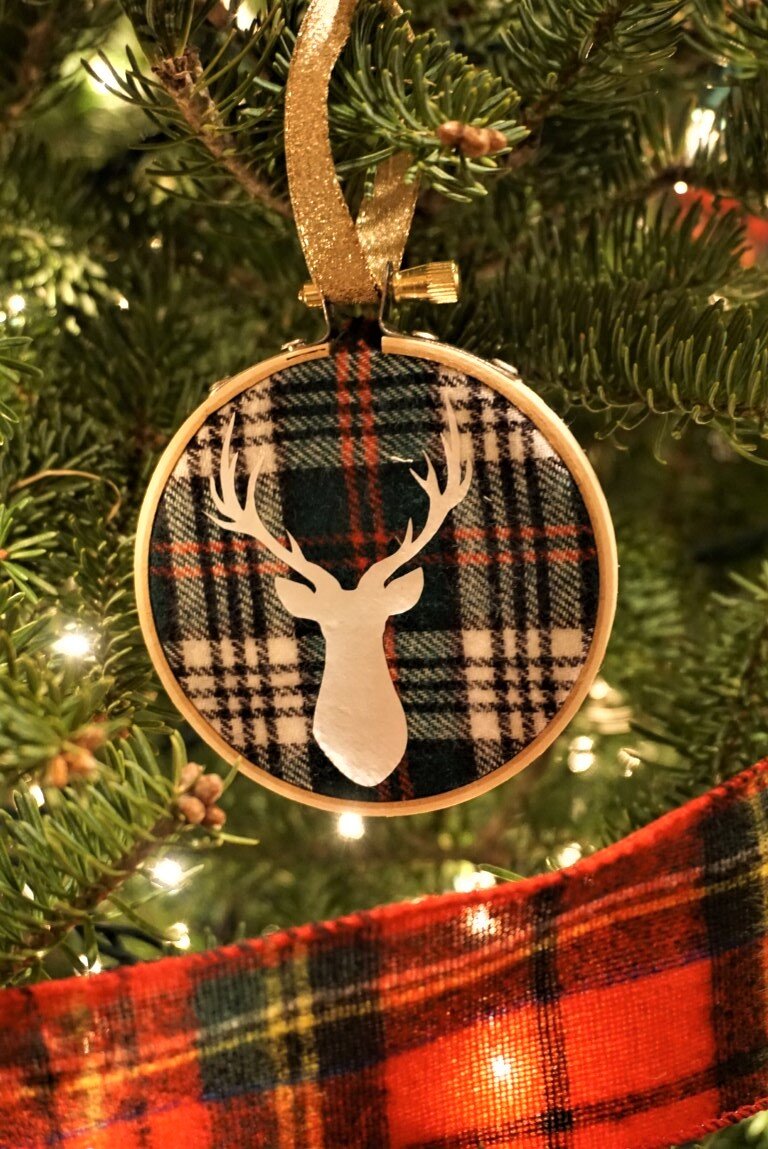
3 inch embroidery hoops
Plaid fabric
White HTV vinyl
Cricut Explore Air 2 or Cricut Maker
Cricut Easy Press or Iron
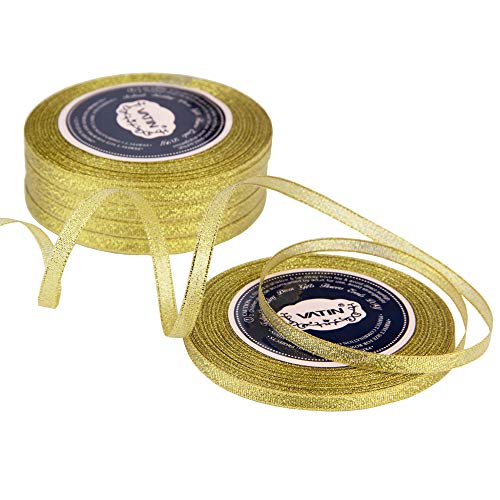
Ribbon
Step 1: Cut the Plaid Fabric
Start by cutting squares of fabric into about 4 inch x 4 inch squares. I decided to get quarter yards of a few different plaids. You can also get a variety packs of these or individual fat quarters. It will be plenty of fabric!
Step 2: Choose Your Clipart
I don’t know about you, but I’ve got a ton of ornaments with “Merry,” “Joy,” and other holiday words on them! I decided to balance out the tree by selecting some free clipart of a deer, snowflake, and a laurel wreath. A quick Google search will help you find all kinds of free options that you can save and load into Cricut Design Space.

Step 3: Cut Your Images onto Vinyl
With the busy plaid colors, I used white heat transfer vinyl. Don’t forget to select “Mirror” when you cut these out on your Cricut!
Step 4: Iron on Images
Using your Cricut Easy Press or iron, secure the shapes onto your plaid squares.

Step 5: Insert Fabric into Embroidery Hoop
Take your finished fabric square and secure it into your embroidery hoop. Unscrew the top to loosen and then tighten after the fabric is between the hoops. Trim any excess fabric with a sharp pair of scissors.
Add some ribbon and they are ready to hang on the tree!