Spooktacular Skulls: A DIY Halloween Tablescape
It’s hard to believe that Halloween is just around the corner. Fall has brought strange weather in Minnesota. Last week it was unusually cold and rainy all week. Today, I am writing this as it snows outside the window. Fingers crossed we get at least a few more beautiful fall days before it turns to the snow full time.
If you ask any Minnesotan, they will love to tell you about the great Halloween snowstorm of 1991. We are a hearty bunch though, so no matter what the weather is, Halloween is always fun to celebrate!

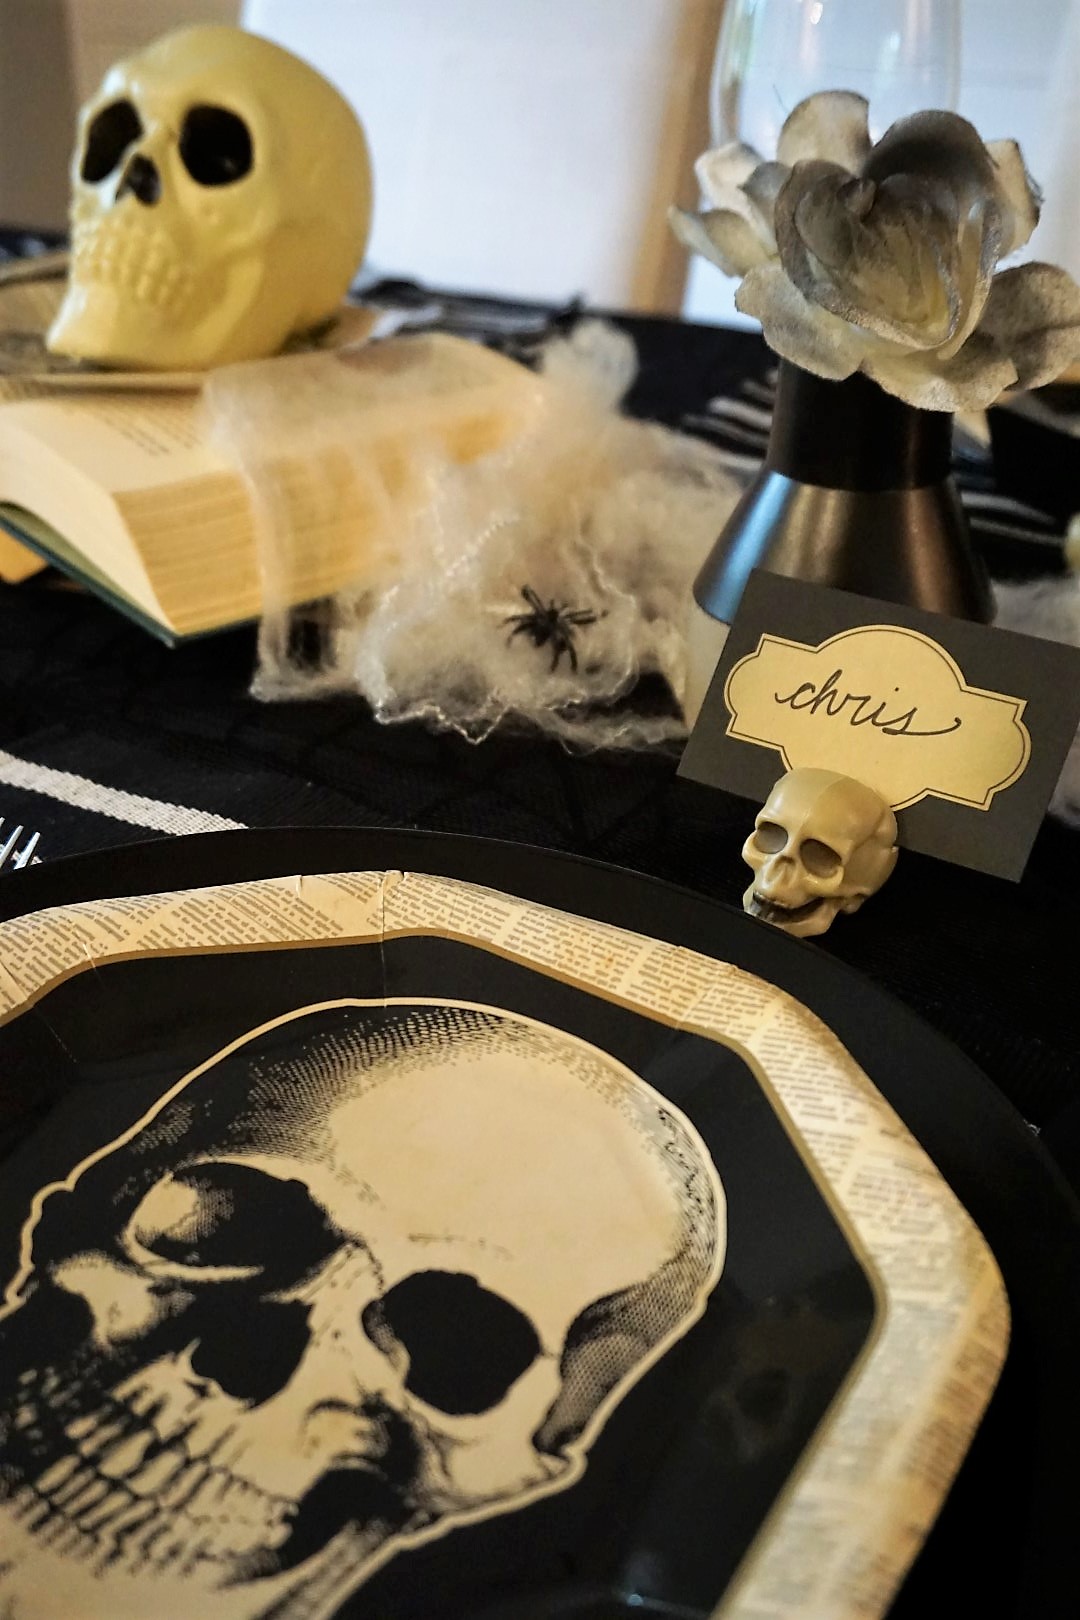
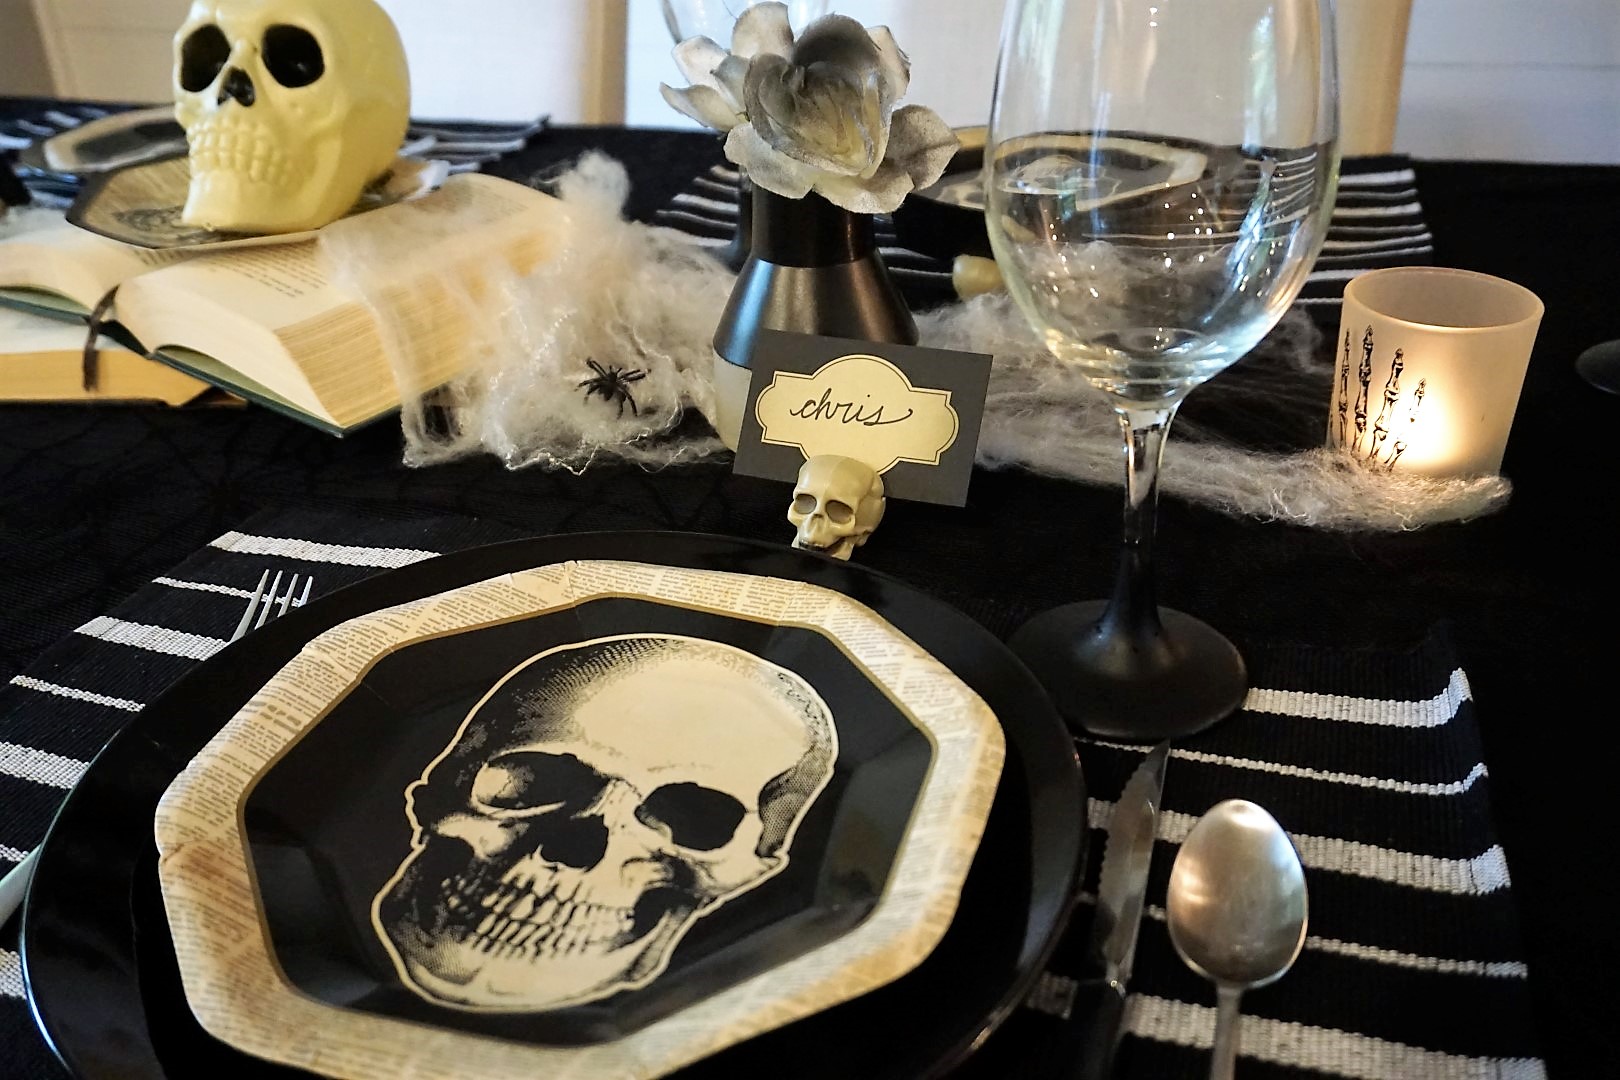
Last year, I was all about vampires with our tablescape! This year, I was loving the skeleton and skull trend and decided I had to have some of the Oriental Trading Company vintage Halloween collection. I purchased the dinner plates, the dessert plates, and the napkins. I got all of these goodies for less than $10.

The tablecloth is an oldy, but goody that I picked up at Big Lots several years ago, but you can find a similar one at Target. It works great over the top of a plain black tablecloth. To keep the layering going, I used a set of placemats and black plates I picked up at Dollar Tree this last year. Dollar Tree is a great place to find solid color plates at just $1 a piece. Finally, I used my DIY chalk paint wine glasses that made an appearance on last year’s Halloween bar.

Diy Skull Placecard Holders
Now for some DIY fun! Seasonal place card holders can get pricey and if you are like me and love switching up your table theme each year, it's tough to spend a lot of money on something that that.
What You Need
Bag of Skulls (8/pack at Dollar Tree)
Dremel (Home Depot)
This year, I snagged a bag of 8 mini skulls at Dollar Tree. I’ve also seen similar items available at Target or other online retailers. For $1, I had my placecard holders, but they needed slits in them to be able to hold place cards.
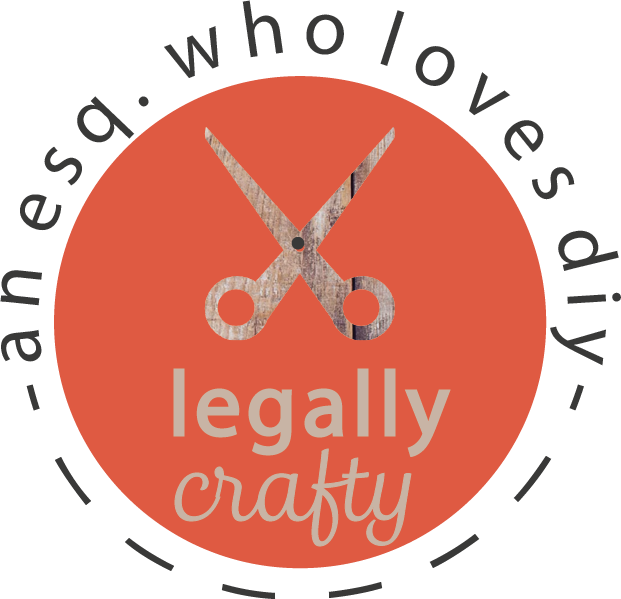
Next, I enlisted the help of my hubby! Using a thin, round bit called a “cut-off wheel” (you may need to buy this separately) he sliced right into these skulls!
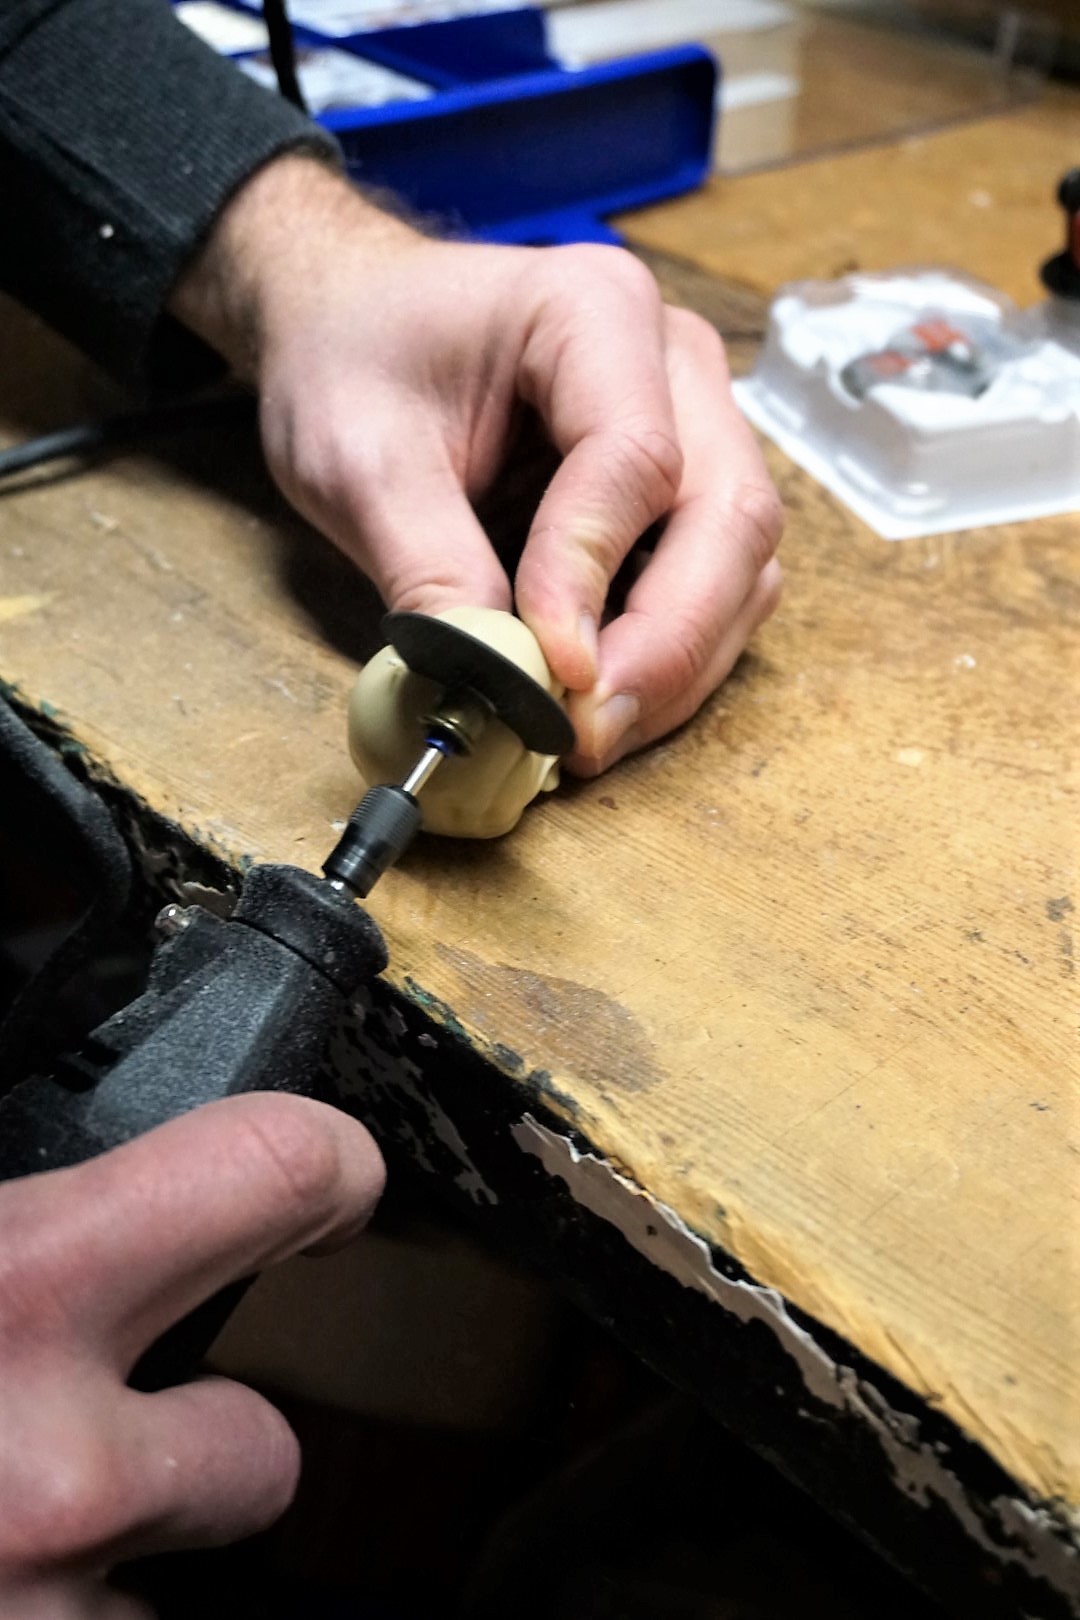
I recommend having a place card with you to test to make sure your cuts are deep enough and wide enough. You can see some of the cut skulls below.

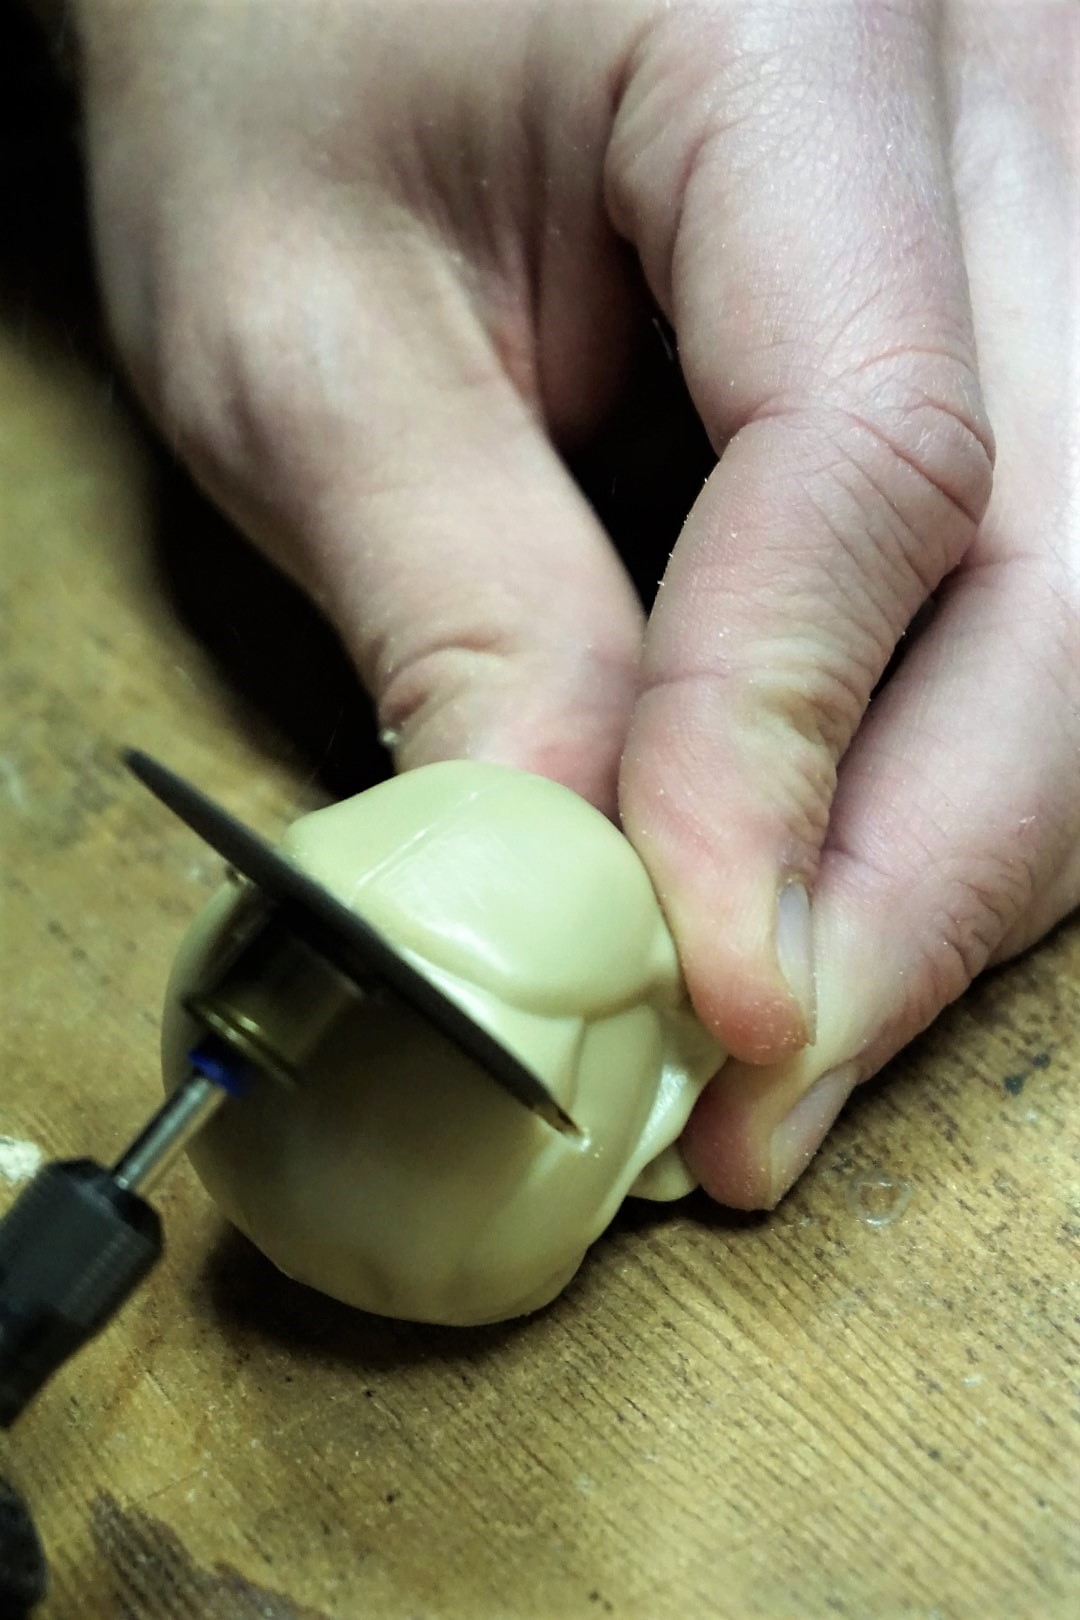
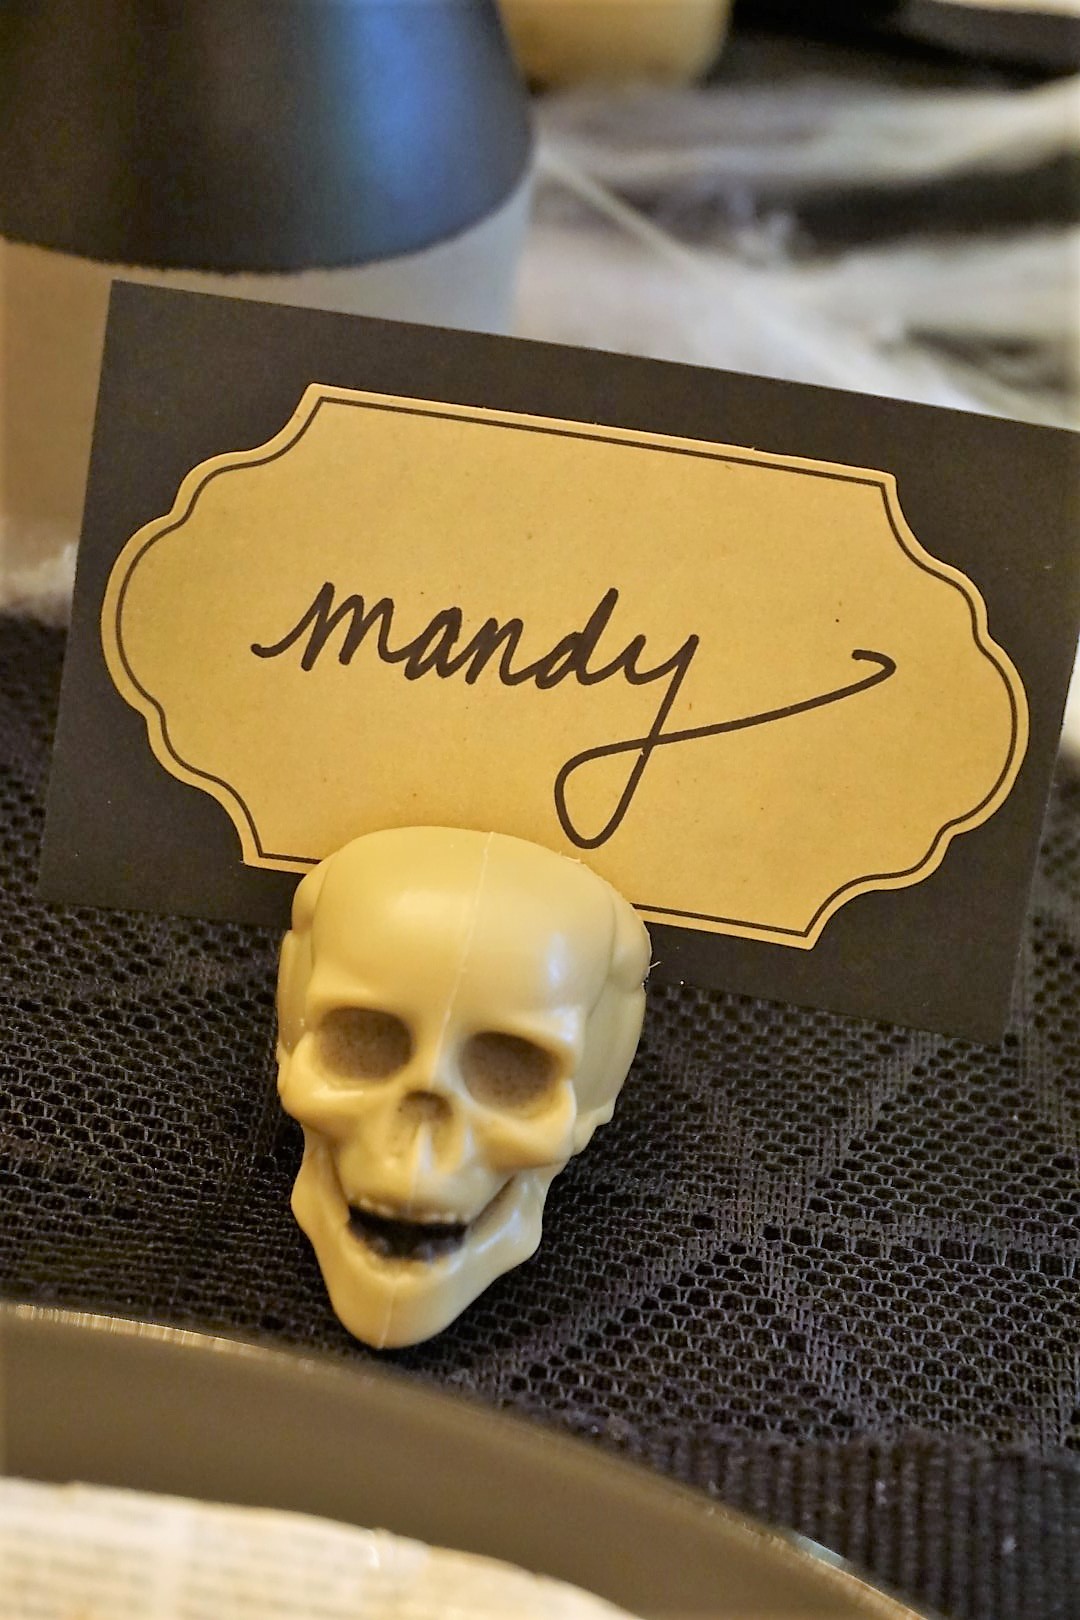
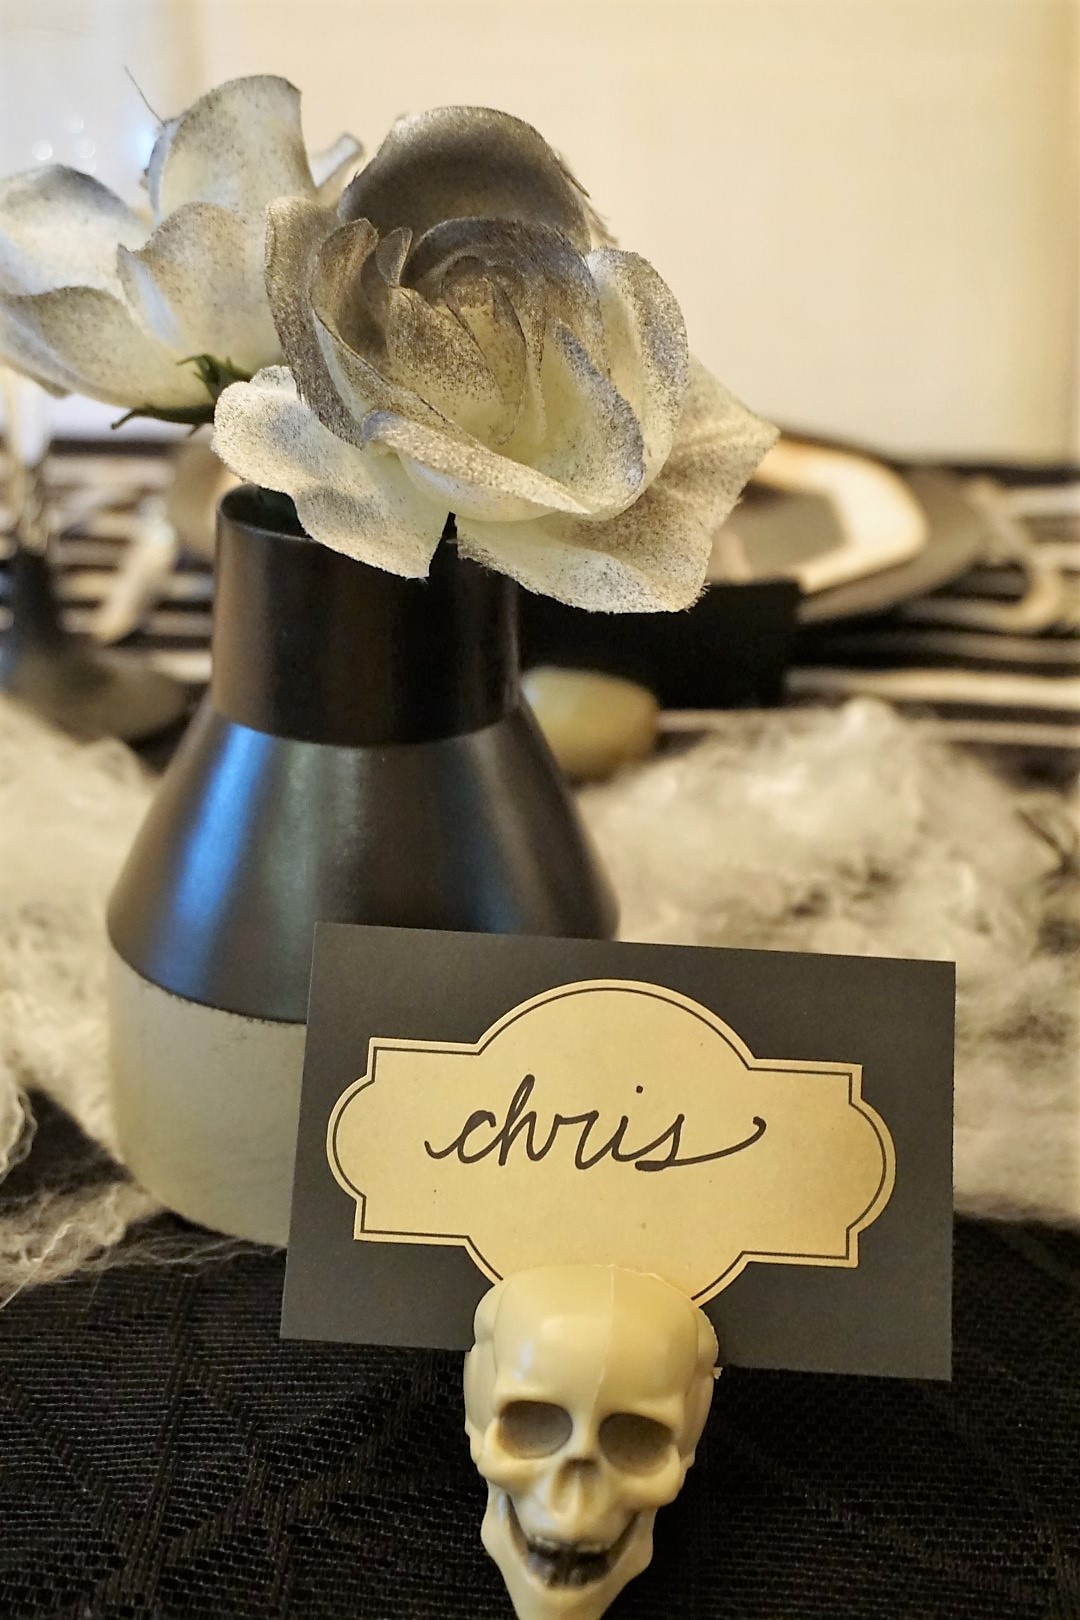
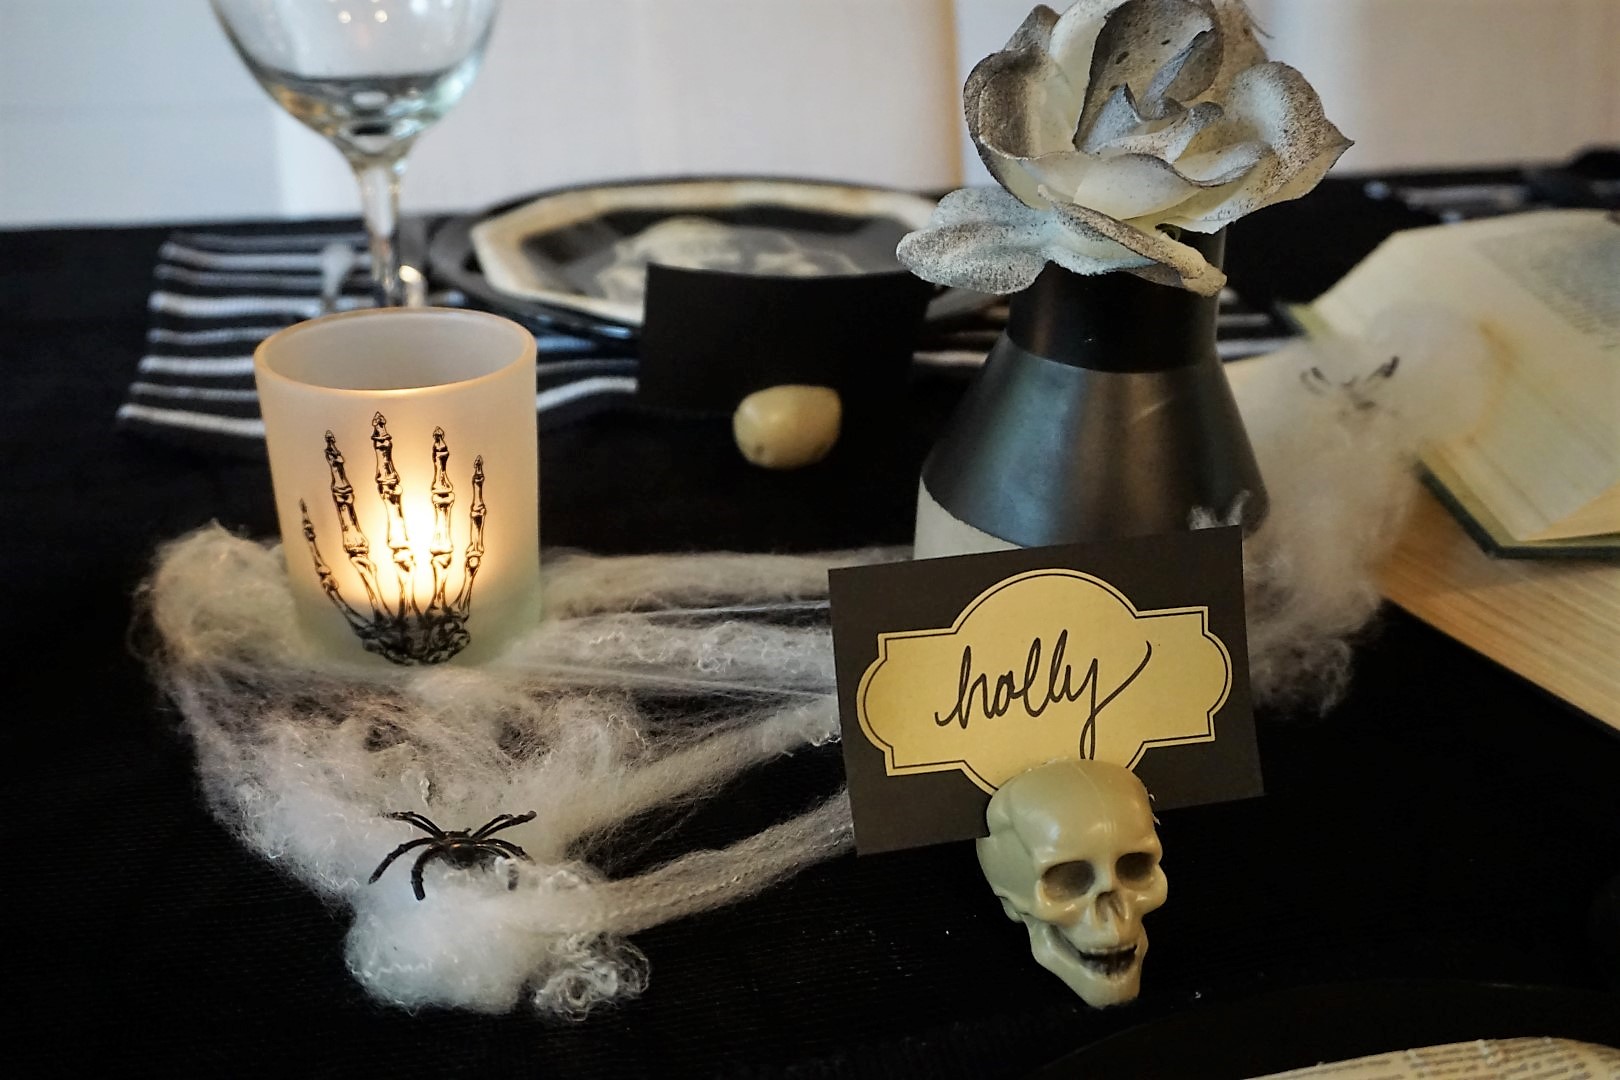
To make the place cards, I used black cardstock and some clearance stickers I’d picked up from Target on clearance. I love buying blank stickers like this to use throughout the year. Stick on the cardstock, cut, and add the names of your guests! Add them into the slits you’ve cut and you have place cards for each setting! These are lightweight, so make sure not to use anything too heavy in them or the skulls will tip over. You can always glue them to something for a sturdier piece as well.
Diy Spooky Ombré Flowers
As an avid DIYer, I often end up with odds and ends from other events. I had some leftover faux white roses from the Rosé Before the Big Day bridal shower I hosted this summer and decided to turn them spooky!
What You Need
Faux White Roses ($1 per stem at Dollar Tree)
Black Spray Paint
Bud Vases
Use the black spray paint and lightly apply to the roses. Less is more here. You can always spray on a little more, but it’s tough to go back if you go overboard. Let dry. I added them to some clearance Target bud vases I picked up as a part of the back-to-school clearance. Apparently they were dorm decor?! I loved them!
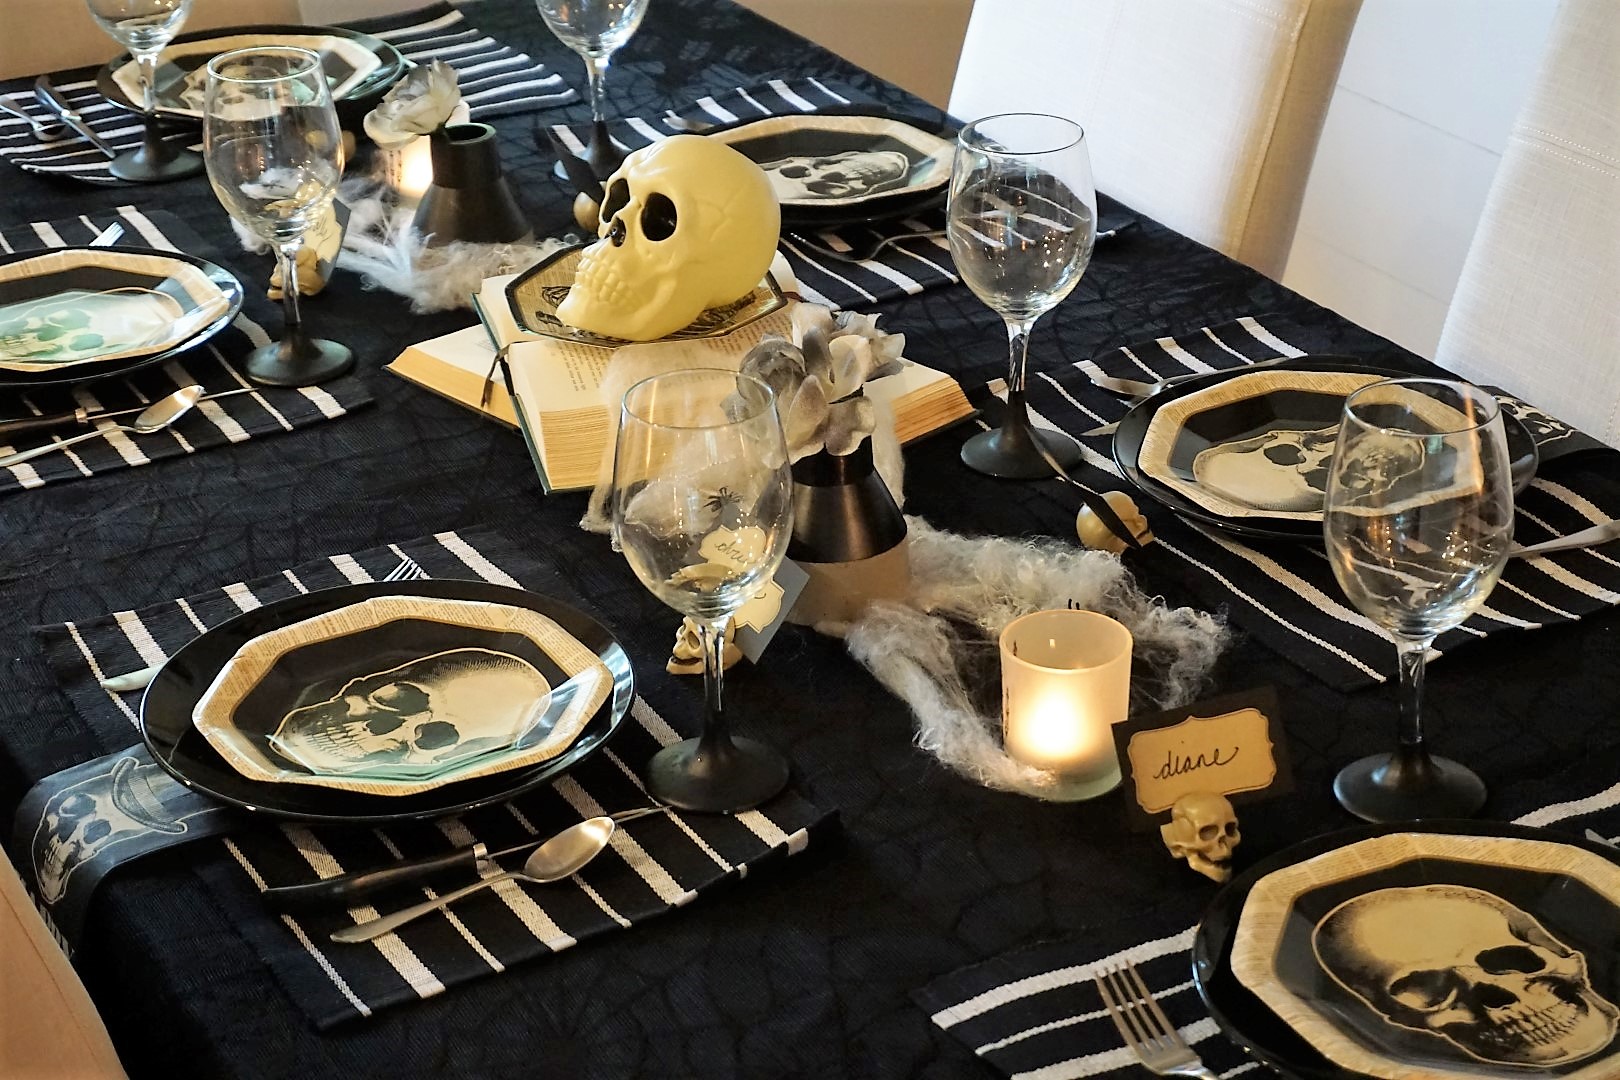
Spooky Skull Centerpiece
To keep the centerpiece spooky, I used a larger skull layered on top of some vintage books that I found at my local Goodwill. Can you believe I lucked out and even found a copy of Frankenstein & Dracula in one? Even if you aren’t that lucky, it’s still fun! I also used one of the Oriental Trading dessert plates as well.
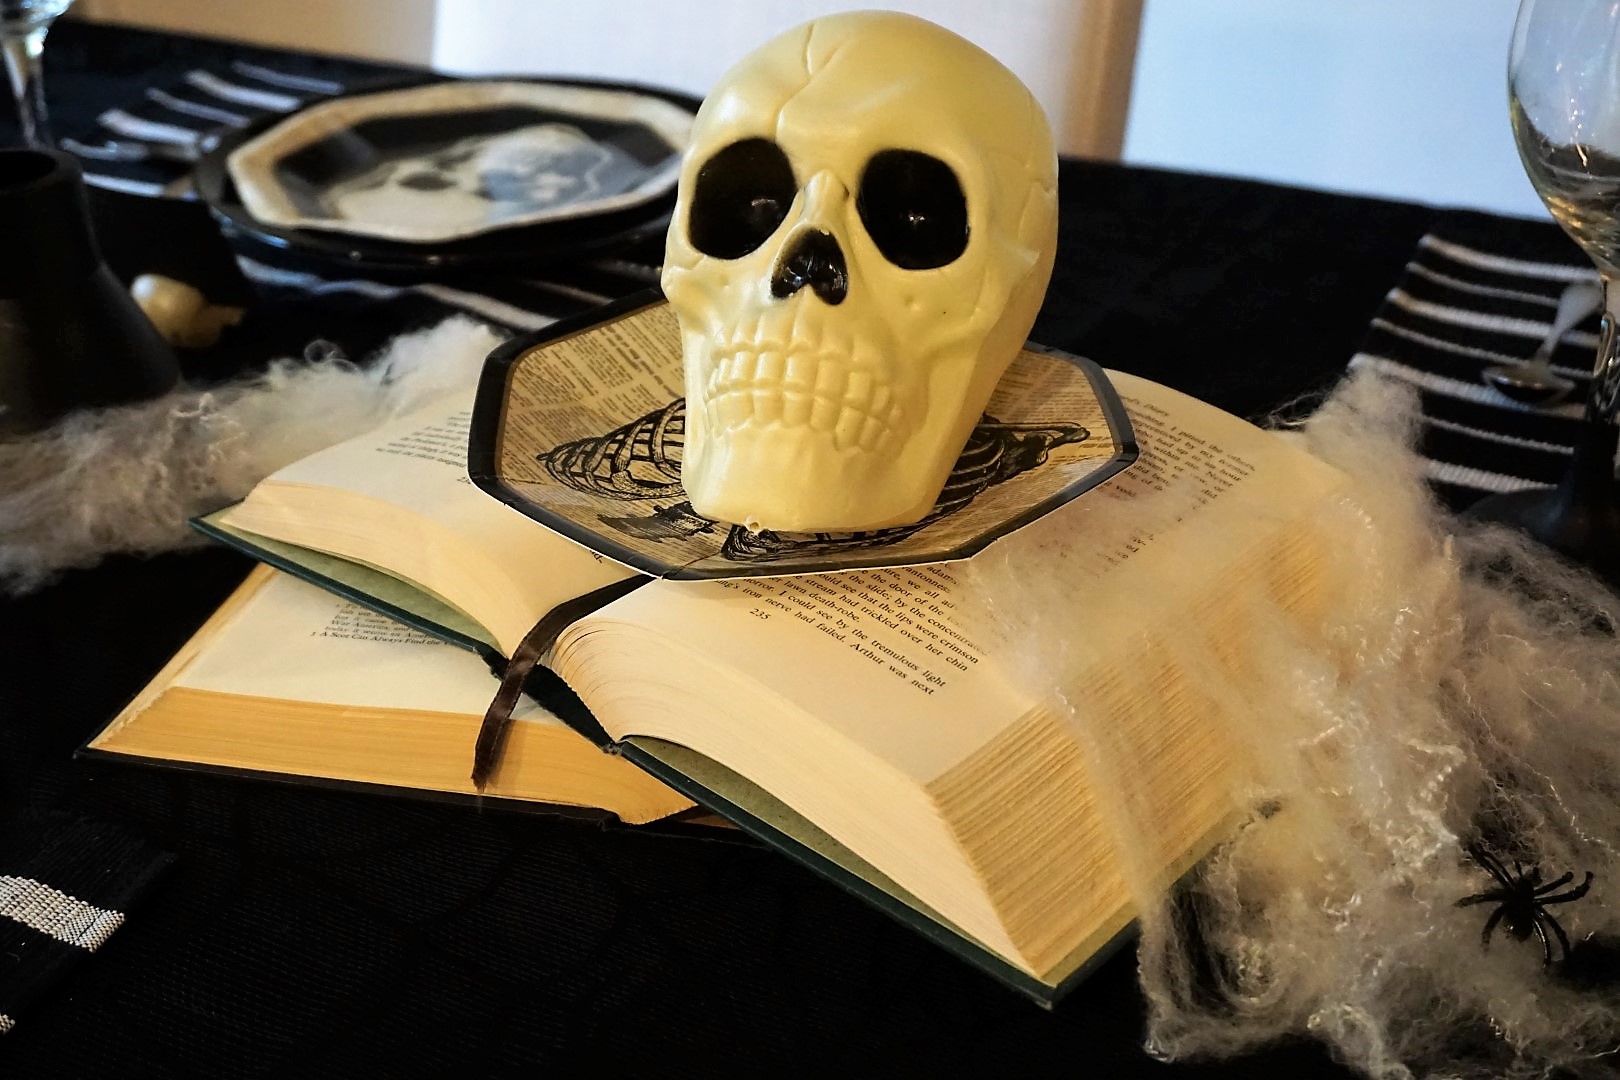

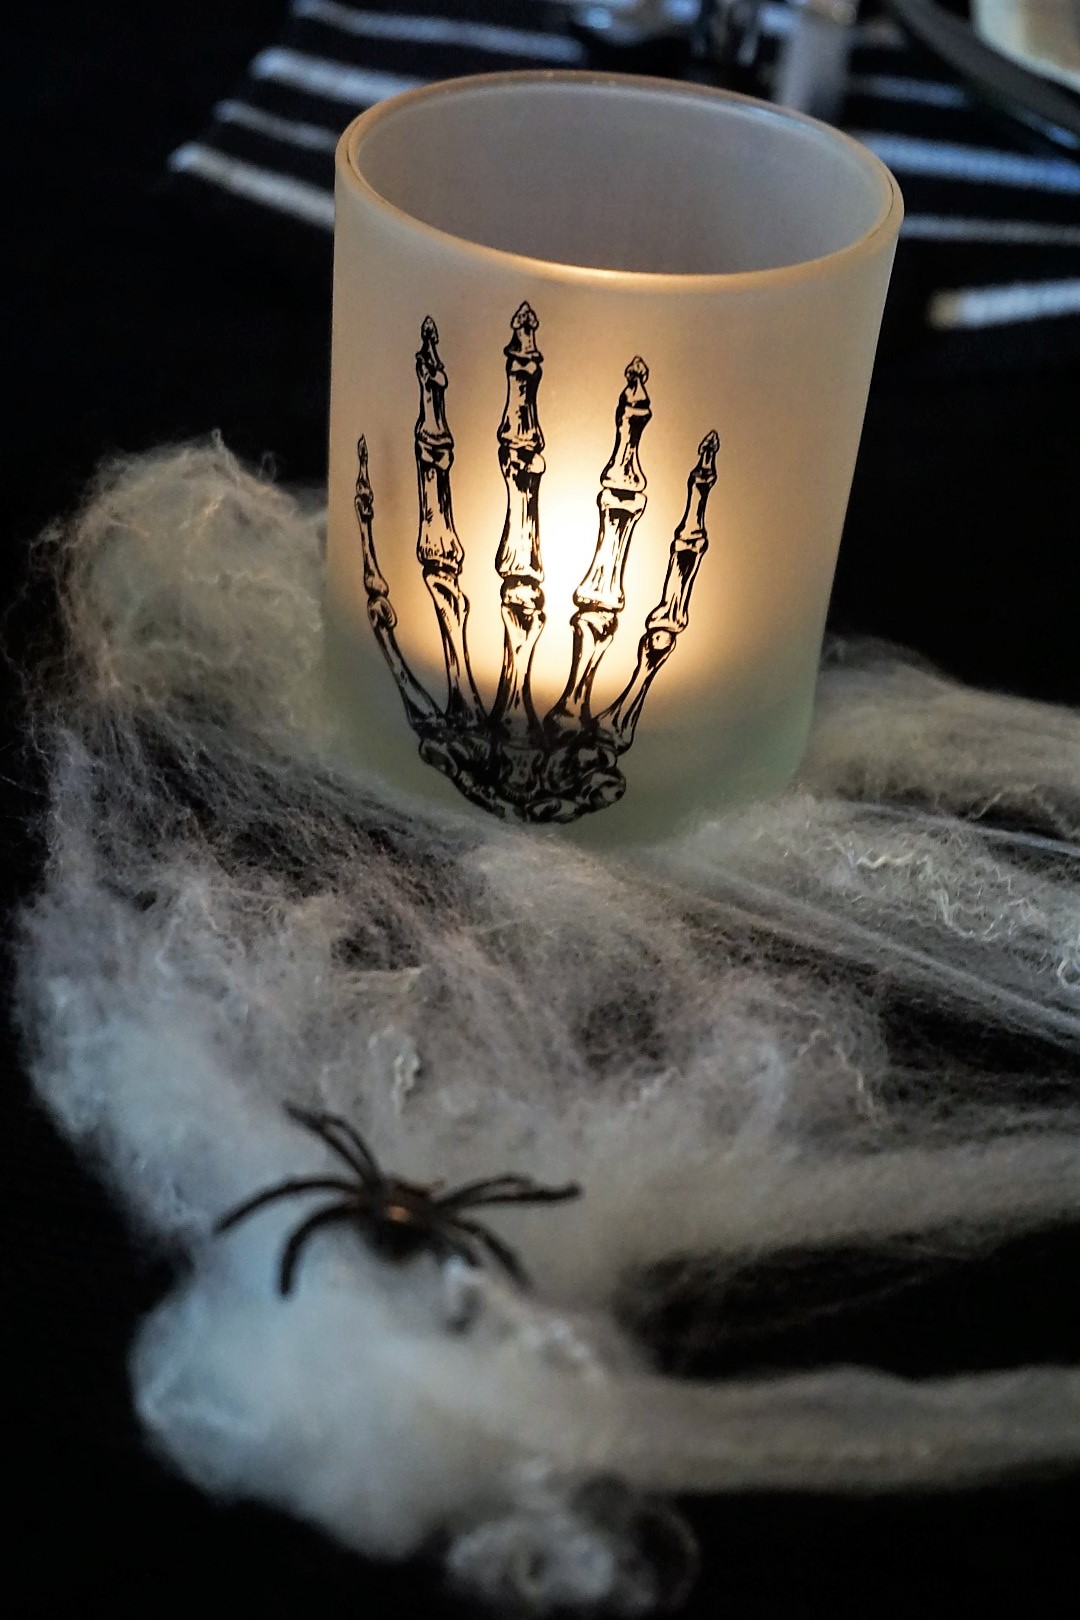
To add some addition spooky vibes, I add some spider webbing and plastic spider rings. A bag of these lasts forever and can be frozen into ice cubes or added into glass apothecary jars. I also found some fun frosted votives with skeleton hands on them at Dollar Tree. Candlelight always adds some spook-factor to your Halloween table.

There you have it! This year’s Halloween tablescape!
Happy Haunting!
This post contains affiliate links, which means we may receive a commission if you click a link and purchase something that we have recommended. While clicking these links won't cost you any extra money, they will help us keep this site up and running!